How to Crochet a Granny Square (Beginner Tutorial)
Source: Maddy Marie • Full tutorial: www.craftingstepbystep.com/crafts/how-to-crochet-a-granny-square
- Difficulty
- Easy
- Hands-on time
- About 45 minutes
- Makes
- 1 granny square
Steps
1. Make a Slip Knot
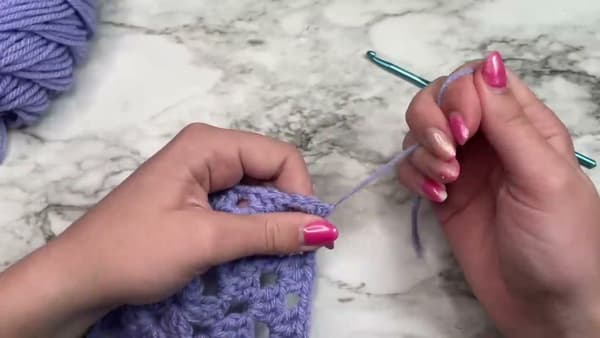
Take the tail end of the yarn in your right hand and the long strand in your left. Cross the long strand over the tail to form a loop.
Tip: Don't pull too tight. The slip knot should slide on your hook with a little resistance, not lock in place. If it's too tight, slide it off, loosen, and try again.
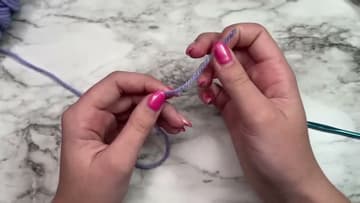
2. Chain 4
Yarn over (wrap the working strand around the hook from back to front) and pull it through the loop on your hook. That's one chain.
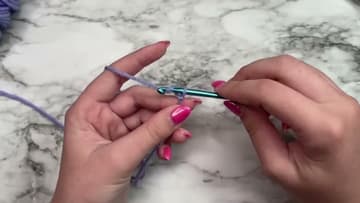
3. Slip Stitch into the First Chain to Form a Ring
Insert your hook through the very first chain you made. Yarn over and pull a loop through both the chain and the loop on your hook.
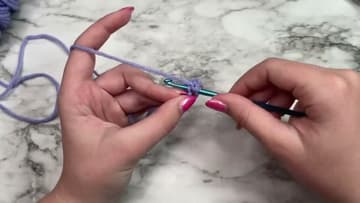
4. Chain 6 to Begin Round 1
Yarn over and pull through the loop on your hook 6 times. The first 3 chains count as your first double crochet, and the next 3 form the corner space.
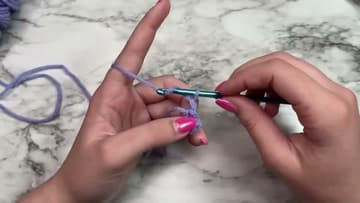
5. Make 3 Double Crochets in the Ring
Yarn over, insert hook into the ring, yarn over and pull up a loop (3 loops on hook). Yarn over, pull through the first 2 loops (2 left).
Tip: If you've never done a double crochet, the rhythm is yarn-over-insert, yarn-over-pull-up, yarn-over-pull-2, yarn-over-pull-2. Say it out loud the first few times.
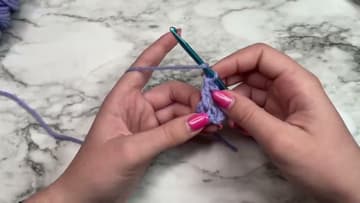
6. Add Chain-3 Corners and Continue Around
Chain 3, then make 3 more double crochets in the ring. Chain 3 again, 3 more double crochets.
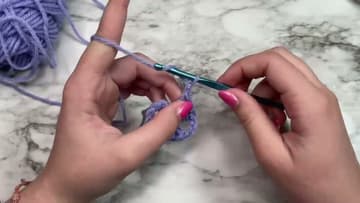
7. Slip Stitch to Close the Round
To finish round 1, slip stitch into the third chain of your starting chain-6. Insert your hook through that chain, yarn over, pull through both loops.
Tip: If your square doesn't look square yet, that's normal after just round 1. The shape becomes obvious in round 2 when the corners and middle spaces start to differentiate.
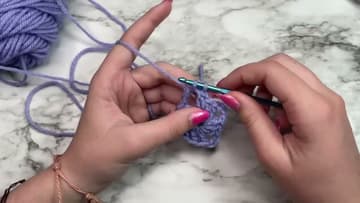
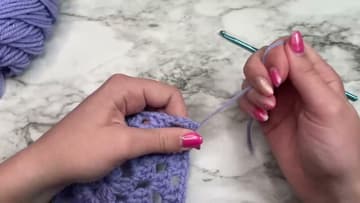
8. Cut Yarn and Weave in Ends
After your final round, cut the yarn leaving a 6-inch tail. Pull the tail through the last loop to lock the stitch.
Tip: Weave the tail in two different directions before trimming. It locks the end so the square doesn't unravel from washing or wear.