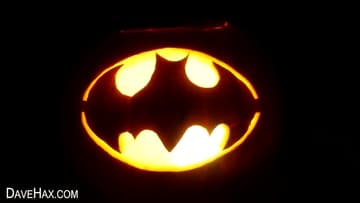
How to Carve a Pumpkin (Classic Jack-O'-Lantern Step-by-Step)
Source: DaveHax • Full tutorial: www.craftingstepbystep.com/crafts/how-to-carve-a-pumpkin
- Difficulty
- Easy
- Hands-on time
- About 45 minutes
- Cost
- About $8 to $15
- Makes
- 1 carved pumpkin
Tools
- Serrated kitchen knife
- Small paring knife
- Pumpkin scoop or large metal spoon
- Black permanent marker
- Bowl for seeds and pulp
Materials
- Whole pumpkin
- Battery tealight or LED candle
- Paper towels
Steps
1. Pick Your Pumpkin and Lay Out Your Tools
Grab a fresh pumpkin - heavy for its size, with a stem still attached and a flat-enough bottom that it won't roll on the table. Set it on a cutting board or a few layers of newspaper because this is going to get messy.
Tip: Wipe the spot you're about to draw on with a damp paper towel first. The marker glides smoother on clean skin and the line stays thin and accurate.
2. Cut the Top Off the Pumpkin
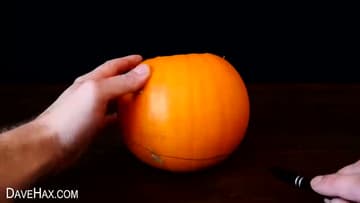
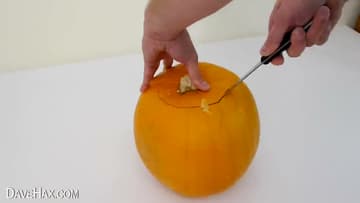
Draw a circle around the stem about four inches across - big enough for your hand and the scoop to fit through. Cut on the marker line with a serrated kitchen knife, angling the blade inward toward the center as you go.
Tip: Skip the lid if you're using a battery tealight - cut a coin-sized hole in the back of the pumpkin instead, hollow through there, and leave the top intact.
3. Scoop Out the Seeds and Pulp
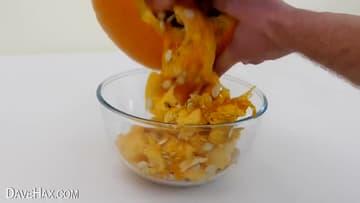
Reach inside with a pumpkin scoop or a sturdy spoon and pull out the seeds and stringy orange pulp. Drop everything straight into a bowl as you go - don't dump it on the counter, you'll regret it.
Tip: If your scoop is dull, try an ice cream scoop with a sharp edge - it pulls the pulp off the walls in one clean sweep instead of just pushing it around.
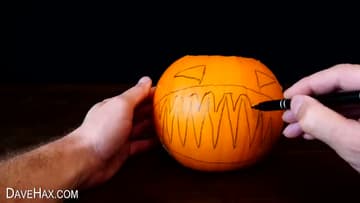
4. Draw the Face on the Pumpkin
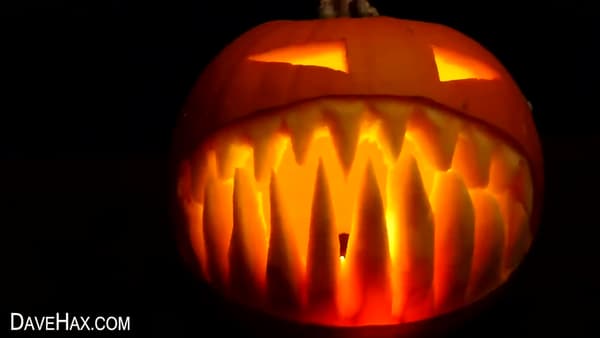
Use a black permanent marker to sketch the face directly onto the front of the pumpkin. For a classic look, draw two triangle eyes, a smaller triangle nose, and a wide mouth with pointed teeth - alternating top and bottom like a zigzag.
Tip: Use a free printable pumpkin pattern if you don't trust your freehand.
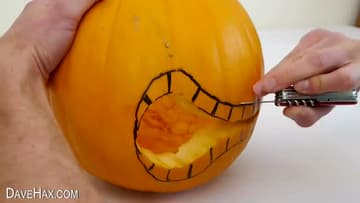
5. Cut Out the Eyes and Nose
Switch to the small paring knife. Push the tip straight into the pumpkin along one of the triangle eye lines and saw gently along the marker mark, keeping the blade perpendicular to the pumpkin's surface.
Tip: If a piece won't pop out, your cut isn't through.
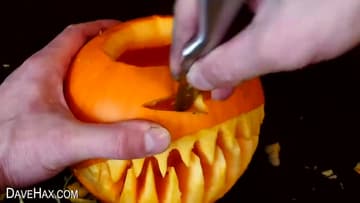
6. Carve the Mouth and Teeth
Cut along the top lip line of the mouth, then the bottom lip line. Don't cut between the teeth yet.
Tip: Save one of the bigger pumpkin chunks you cut out. If a tooth breaks off later, dab the broken edges with a toothpick and a little water, then press the chunk back into place.
7. Light the Pumpkin
Drop a battery tealight inside the pumpkin and set the lid back on. The face glows orange through the carved openings - exactly the effect you wanted.
Tip: Slick the inside cut edges with petroleum jelly - it slows down the dry-out and shrivel that hits carved pumpkins after about 48 hours.
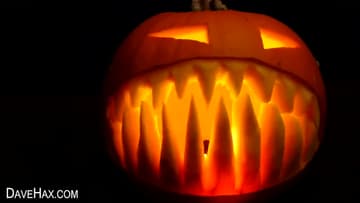
8. Try a Design Variation
Once you've nailed the classic, the same prep-and-carve flow works for any design. Just draw a different face on the front and cut along the new lines.
Tip: For the Spider-Man and message-board designs, use a washable marker instead of permanent.