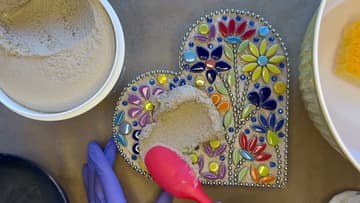
How to Apply Mosaic Tile Adhesive (Weldbond and E6000)
Source: mosaicsbymaricela • Full tutorial: www.craftingstepbystep.com/crafts/how-to-apply-mosaic-tile-adhesive
- Difficulty
- Easy
- Hands-on time
- About 2 hours 30 minutes
- Wait time
- 25 hours
- Cost
- About $25 to $45
- Makes
- 1 mosaic heart

Tools
- utility knife
- fine sandpaper
- small flat brush
- jewelry pliers
- tweezers
- small dish
- spatula
- sponge
- cotton cloth
Materials
- wooden heart blank
- Weldbond adhesive
- E6000 adhesive
- ceramic petal tiles
- round mosaic tiles
- ball chain
- glass beads
- premixed grout
- painter's tape
- nitrile gloves
Steps
1. Score the Wooden Heart Substrate With a Utility Knife
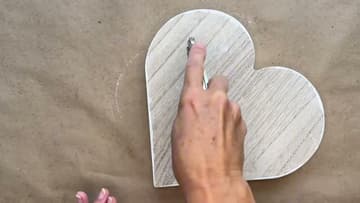
Smooth wood gives glue nothing to hold. Take a utility knife and drag shallow lines diagonally across the face of the board, then cross them the other way to make a crisscross pattern.
Tip: Score only the face that gets tiles. Leave the sides and back smooth for painting.
2. Seal the Wood Substrate With Watered-Down Weldbond
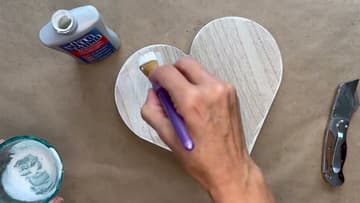
Mix Weldbond with water in a small bowl until it is thin and milky. Brush one even coat over the scored face of the wood.
Tip: Use the drying time to sketch or transfer your design onto the board.
3. Run a Bead of E6000 Around the Heart Edge for the Ball Chain
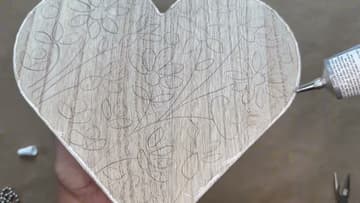
Measure around the edge of the board and cut the ball chain to length with jewelry pliers. Squeeze a thin, steady line of E6000 along the rim, working a short section at a time.
Tip: Work in a ventilated room. E6000 has a strong smell until it cures.
4. Brush Weldbond Onto the Substrate and Set the Ceramic Petals
Pour a little Weldbond into a small dish. Sort your tiles by color and shape so you are not hunting for pieces with glue drying.
Tip: Pre-arrange a few flowers on paper so you can lift them straight onto the glue.
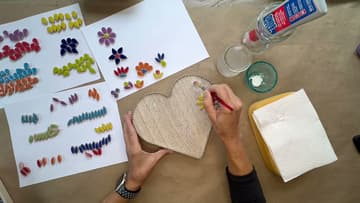
5. Butter the Back of Each Mosaic Tile With Glue
The other way to apply mosaic tile adhesive is to put it on the tile. Hold the piece and brush a thin coat of Weldbond across its back, edge to edge, then set it on your guideline.
Tip: Wipe away any glue that squeezes up between tiles before it dries.
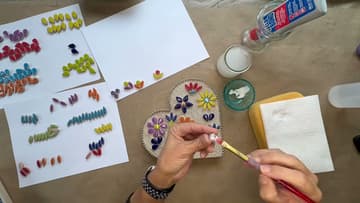
6. Press Ball Chain Flower Stems Into E6000 With Tweezers
Measure each stem against your drawing and cut the ball chain to length. Lay a thin line of E6000 along the stem line, then lower the chain onto it and nudge it into place with tweezers.
Tip: Cut chain a bead or two long. You can trim it, but you cannot add length.
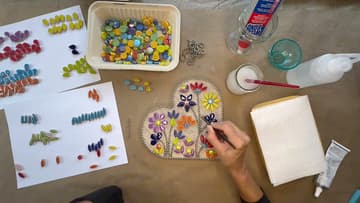
7. Dab E6000 to Set Glass Beads in the Mosaic Gaps
Glass beads fill the empty spots and add sparkle. Put a small dot of E6000 in a gap and seat a bead in it.
Tip: Pick up tiny beads with the tip of a damp toothpick.

8. Spread Premixed Grout Once the Mosaic Adhesive Has Cured
After a full day of drying, tape off the edges and back with painter's tape. Put on gloves and spread premixed grout over the tiles with a spatula, pushing it into every gap.
Tip: If a tile wiggles while you grout, the glue needed more time. Stop and let it cure.