1
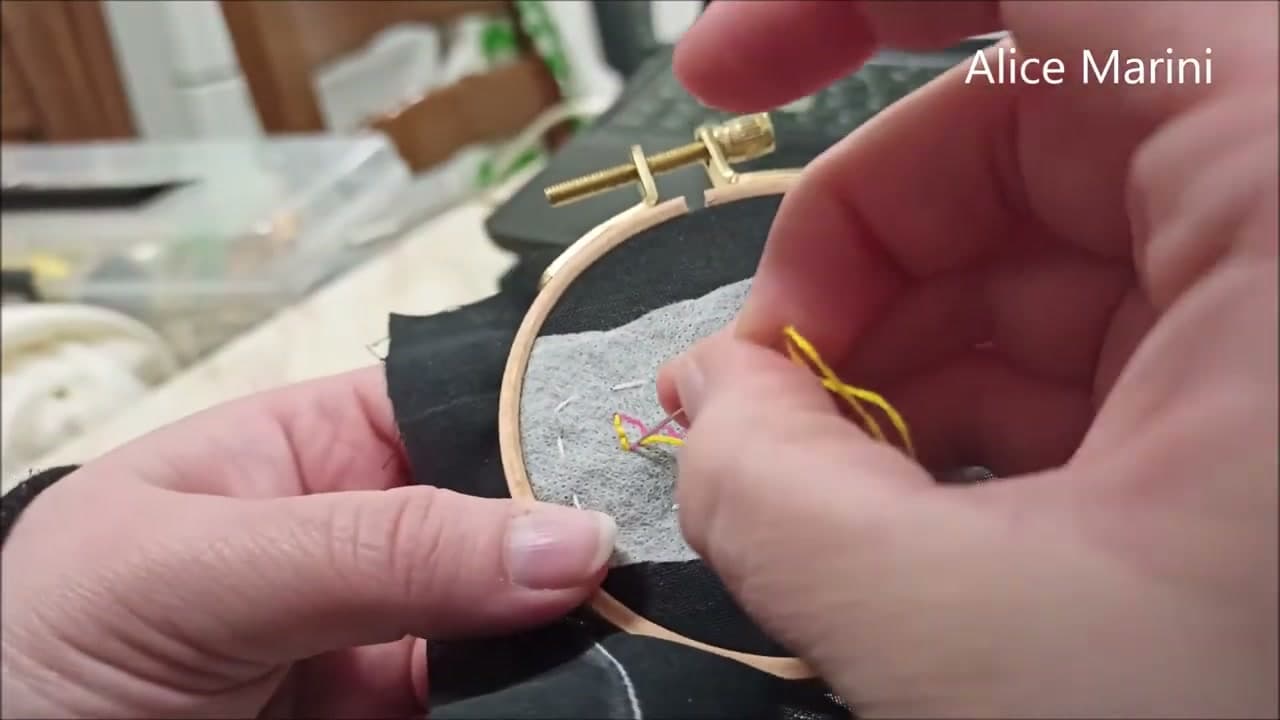
Step 1: Set Up the Hoop and Fabric
0:08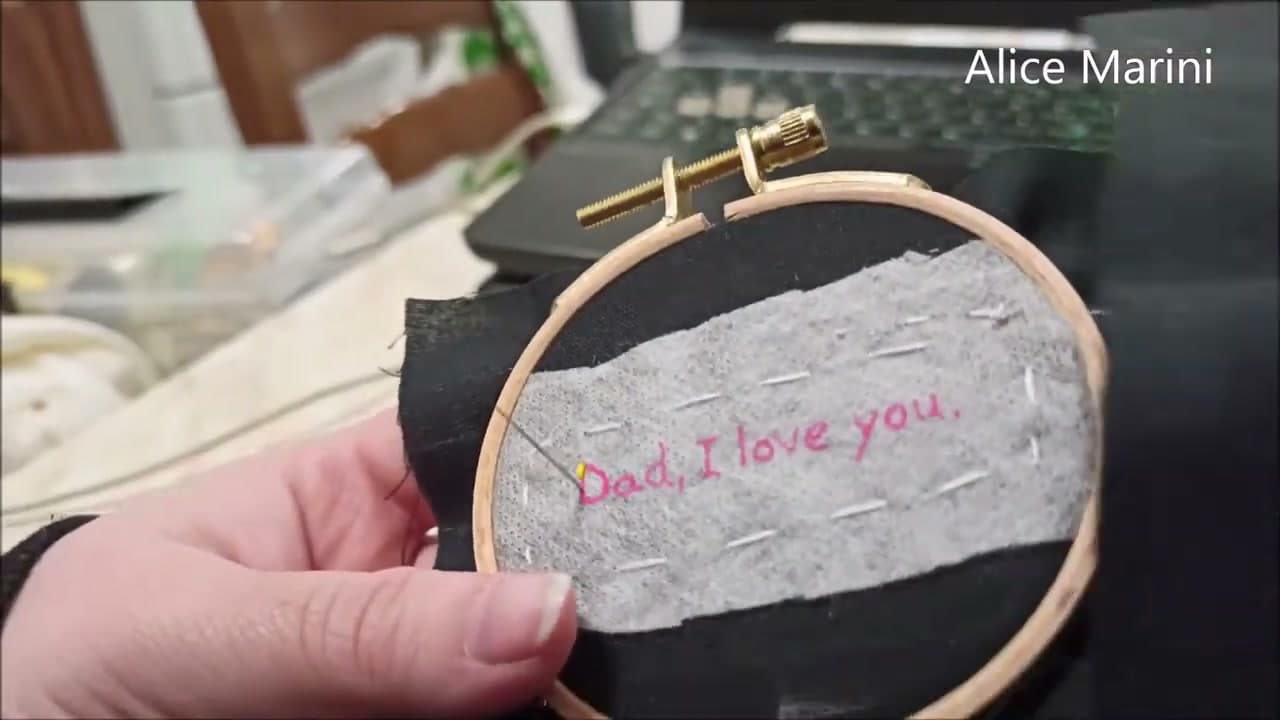
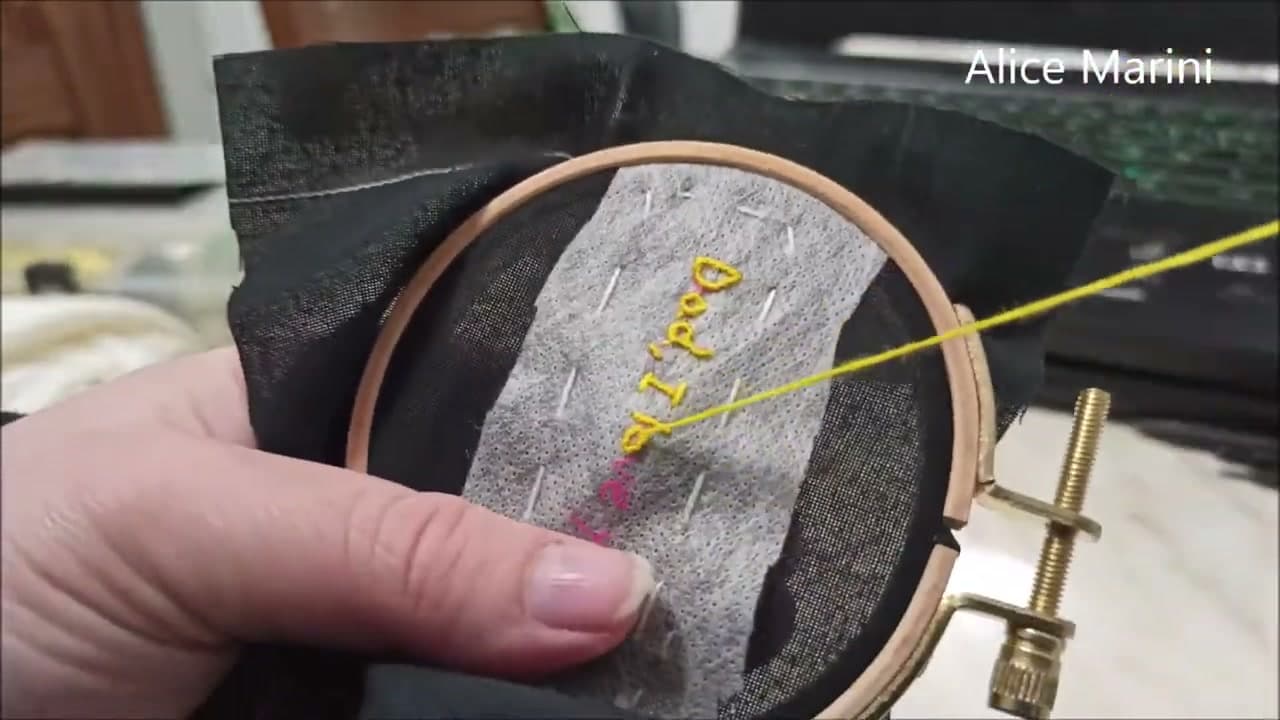
Stretch a piece of grey linen or light cotton tight inside a 4-inch wooden embroidery hoop. Loosen the screw at the top, separate the two rings, lay the fabric over the inner ring, push the outer ring down on top, and tighten until the fabric is drum-tight.
Trim the excess fabric so it sits roughly flat against the back, or leave a generous border for tucking later. The fabric needs real tension - any slack and your stitches will pucker.
Tip
Pull the fabric edges evenly around the hoop as you tighten. Pulling from one side stretches it crooked.