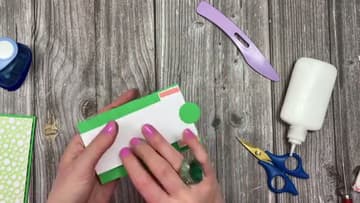
How to Make a Pull Tab Waterfall Card
Source: Sam Calcott UK - Mixed Up Craft • Full tutorial: www.craftingstepbystep.com/card-making/how-to-make-a-waterfall-card
- Difficulty
- Medium
- Hands-on time
- About 45 minutes
- Cost
- About $8 to $15
- Makes
- 1 waterfall card
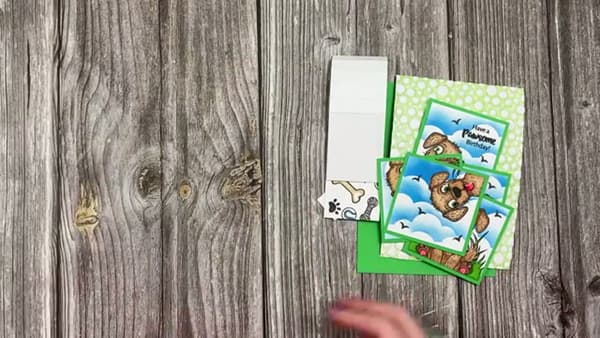
Tools
- paper trimmer
- scoring board (e.g. Adorable Scoreboard, MISTI, Stamp & Score)
- bone folder
- scissors
- circle punch
Materials
- white cardstock for base + pull strip
- patterned cardstock for accent panels
- embossing folder (optional)
- stamped or printed images / sentiment (3-5 small panels)
- adhesive (double-sided tape or wet glue)
Steps
1. Gather Your Cardstock and Tools
Cut your pieces before you start so the build flows. You need a 5x7 card blank (or a 10x7 piece scored at 5 inches on the long side and folded in half), two 4.75 by 6.75 white panels for the front and the embossed background, an 11 by 2 strip for the pull mechanism, and a small 1 by 2.75 strip that holds the whole...
Tip: Pre-made 5x7 card blanks save you the first scoring pass. If you only have flat cardstock, use a 10 by 7 sheet and score at 5 inches on the long side.
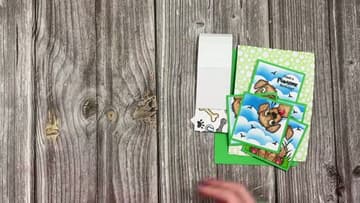
2. Emboss the Front Panel
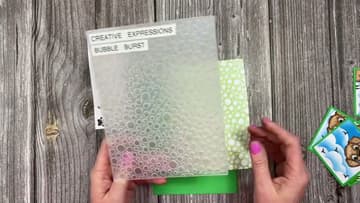
Take one of your 4.75 by 6.75 white panels and run it through an embossing folder. Sam ink-blends one side of the cardstock first with a green distress oxide so the raised pattern picks up color when it goes through the machine.
Tip: If you have no embossing folder, use patterned cardstock for the front panel instead. The waterfall mechanism is the star of the show.
3. Score the Pull-Tab Strip
Lay your 11 by 2 strip on the scoring board with the long edge across the top. Score five lines along the 11-inch side at the 6, 6.5, 7, 7.5, 8, and 8.5 inch marks.
Tip: Burnish hard. Loose folds make the panels lift unevenly when you pull the tab, which kills the cascade effect.
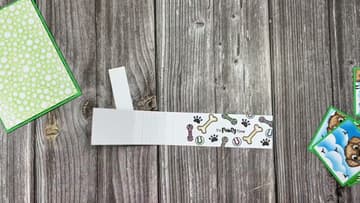
4. Stamp the Five Waterfall Panels
Now decorate the five panels you cut earlier. Stamp each 2.75 by 2.75 white square with your chosen image, ink and color it however you like, then layer it onto a 3 by 3 colored square so a thin border shows around the stamp.
Tip: Plan your panel order before you stamp. The top panel stays visible at all times, so put your strongest image there.
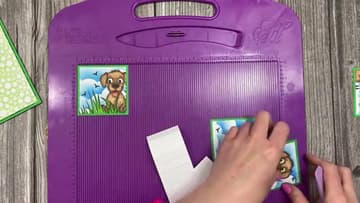
5. Tape the Panels Onto the Hinges
Run a strip of half-inch double-sided tape along the top half-inch hinge of your scored strip. Peel the backing, then lay your first panel down with an equal amount of cardstock overhanging on each side.
Tip: If any tape pokes out past the panel edge, dust it with anti-static powder so it loses its grip. Otherwise the panels will catch on each other when you pull the tab.
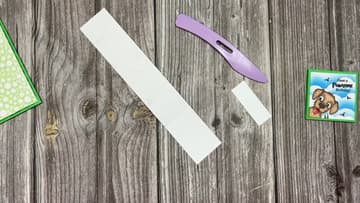
6. Attach the Holding Piece
Flip the assembled strip so the back faces you. The two small unattached sections at the top are where the panels hook onto the card, and they need a holding piece across them to keep the panels from flopping when someone pulls the tab.
Tip: Red liner tape is worth the upgrade over standard double-sided here. The holding piece is doing structural work every time someone pulls the tab.
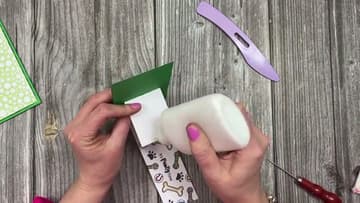
7. Add the Pull Tab and Mount to the Card
Trim the pull tab down to about 5 inches so it tucks neatly behind the card front instead of dangling. Punch a one-inch circle from coordinating cardstock, stamp a small image on it or write the word Pull, and glue it to the bottom edge of the tab so it sticks out below the card.
Tip: If the panels stick to each other on the first pull, work the mechanism a few times to break in the hinges. They loosen up fast.