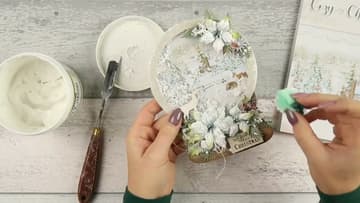
How to Make a Snow Globe Shaker Christmas Card
Source: Emilia Sieradzan • Full tutorial: www.craftingstepbystep.com/card-making/how-to-make-a-snow-globe-shaker-christmas-card
- Difficulty
- Medium

Tools
- scissors
- pencil
- circle dies and die-cutting machine
- ink blending tool
- hot glue gun
- small sponge
- anti-static tool or dryer sheet
Materials
- white cardstock
- wood-grain patterned paper
- winter scene patterned paper
- clear acetate
- double sided foam tape
- sequins
- microbeads
- artificial snow
- brown ink pad
- paper poinsettias and leaves
- Merry Christmas tag
- white gesso
- cheesecloth
Steps
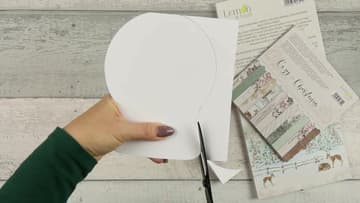
1. Cut the Snow Globe Card Base From a Folded White Card
Print Emilia's free template from her video description and cut it out. Trace it onto a folded piece of white cardstock, with part of the template against the fold so the card still opens.
Tip: Cut the curves slowly and turn the card, not the scissors.
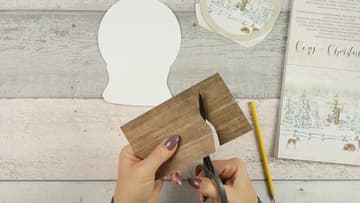
2. Cut the Snow Globe Base From Wood-Grain Paper
Lay the card front on a piece of darker patterned paper and trace around the bottom part, the stand of the snow globe. Emilia used a wood-grain sheet from her Christmas paper pad.
Tip: A brown or kraft paper works if you have no wood-grain print.
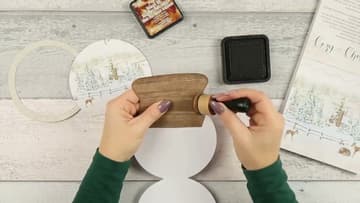
3. Ink the Edges of the Snow Globe Base and Winter Scene
Pick up brown ink with a blending tool and rub it around the edges of the wood-grain base. Do the same lightly around the white card edge.
Tip: Work from the outside edge inward so you do not leave a hard line.
4. Cut a Circle Frame and a Clear Acetate Window for the Shaker
Cut a frame from cardstock with two circle dies, one inside the other. A bigger gap between the two circles gives a wider frame.
Tip: Hold acetate by its edges. Fingerprints show up badly once the card is done.
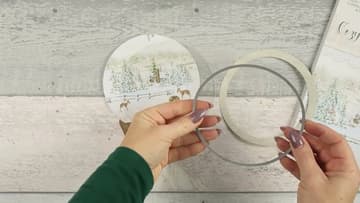
5. Add Foam Tape to the Back of the Snow Globe Frame
Turn the frame over so the acetate faces down. Press thin strips of foam tape around the back of the frame, right over the acetate edge.
Tip: Cut the foam into short pieces. They bend around a curve better than one long strip.
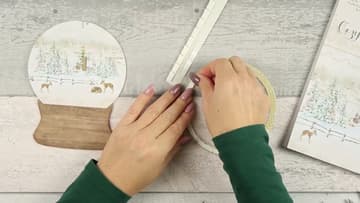
6. Fill the Snow Globe Shaker With Sequins and Faux Snow
Leave the foam backing on for now. Sprinkle your filler into the middle of the winter scene.
Tip: Start with about a teaspoon. You can always open a corner and add more.
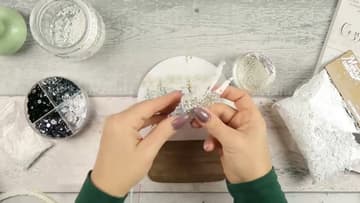
7. Press the Shaker Frame Down Over the Winter Scene
Remove the foam backing. Line the frame up over the round scene and lower it straight down, so no filler gets caught under the foam.
Tip: Tap the filler toward the centre before you lower the frame.
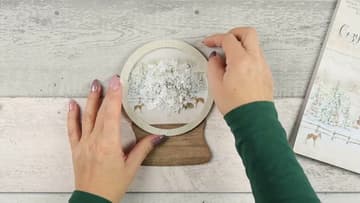
8. Glue Greenery Onto the Snow Globe Base With Hot Glue
Start decorating at the bottom, where the globe meets the stand. Emilia tucked a scrap of cheesecloth behind the greenery for a soft snowy layer, then added paper pine branches with hot glue.
Tip: Hot glue sets fast. Place each piece where you want it before you press.
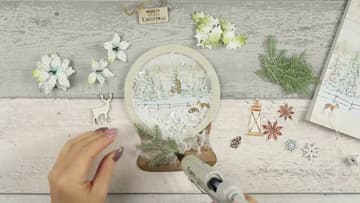
9. Add Paper Poinsettias and a Merry Christmas Tag to the Card
Glue a large paper poinsettia on the base, with smaller flowers and leaves around it. Add a small Merry Christmas tag below.
Tip: Lay everything out dry first and take a phone photo before you glue.
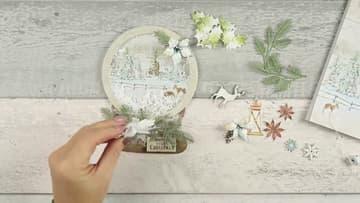
10. Dab White Gesso on the Snow Globe Card for a Snowy Finish
Brush a little clear glue on the flowers and sprinkle microbeads or glitter for sparkle. Then dab white gesso around the frame and on the leaves with a small sponge.
Tip: Dab off most of the gesso on scrap paper first, as you would with ink.