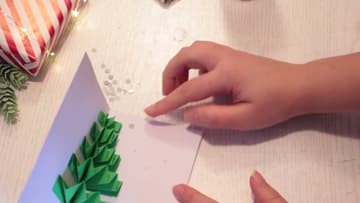
How to Make a Pop Up Christmas Tree Card
Source: Natalia's Toolbox • Full tutorial: www.craftingstepbystep.com/card-making/how-to-make-a-pop-up-christmas-tree-card
- Difficulty
- Easy

Tools
- scissors
- ruler
- pencil
- bone folder
Materials
- white cardstock
- green paper
- brown kraft paper
- glue stick
- white tacky glue
- silver sequins
Steps
1. Fold the Green Paper Into a Christmas Tree Accordion
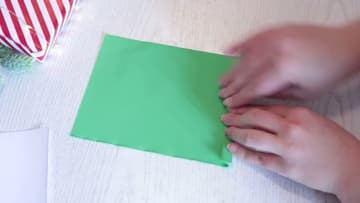
Lay your green sheet flat with a long edge toward you. Fold a narrow strip along the edge, about a centimeter wide.
Tip: A bone folder gives sharper creases than fingers, and sharp creases make neater branches.
2. Measure the Folded Green Strip for the Tree Tiers
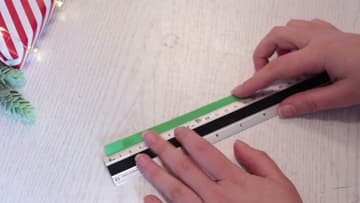
Keep the green paper folded so it stays a narrow strip. Lay your ruler along it and make small pencil marks at 1, 3, 6 and 10 centimeters.
Tip: Mark on the side you will not see, so the pencil does not show on the finished tree.
3. Cut the Green Accordion Strip Into Christmas Tree Tiers
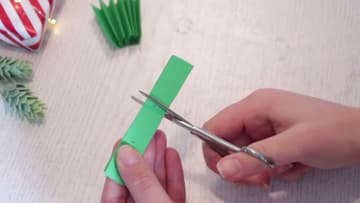
Hold the strip folded tight and cut straight across at each pencil mark. Sharp scissors matter here because you are cutting through many layers at once.
Tip: If the layers shift as you cut, put a paper clip at one end to hold them.
4. Fold the Brown Paper Square Into the Tree Trunk
Take a small square of brown paper, about 3 centimeters across. Fold it in half.
Tip: Kraft cardstock makes a sturdier trunk than thin brown paper.
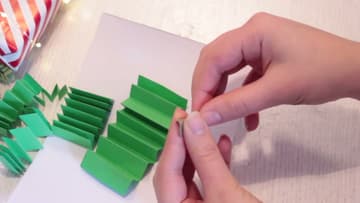
5. Glue the Brown Trunk Into the Pop Up Christmas Card
Fold your white card base in half and open it. Put glue on one folded flap of the trunk and press it near the bottom of the card, close to the center fold but not right on it.
Tip: White tacky glue holds the trunk better than a glue stick. Let it set before you add branches.
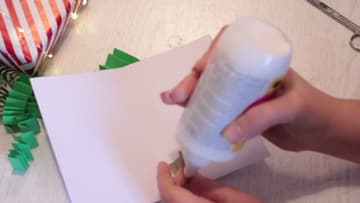
6. Attach the Largest Green Tier to the Christmas Tree Trunk
Pick up the biggest green tier. Put glue along the bottom of it and set it on top of the trunk, as close to the center fold as you can.
Tip: Check that the folds of the tier run the same way as the card fold.
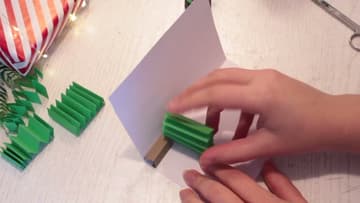
7. Stack the Smaller Green Tiers Up the Christmas Tree
Glue the next largest tier on top. Keep it close to the center fold and snug against the tier below.
Tip: Leave a tiny gap between tiers if you want the branches to look more separate.
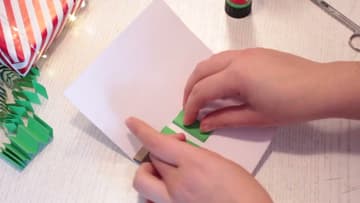
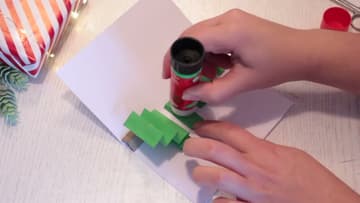
8. Glue the Tops of the Christmas Tree Tiers and Close the Card
Now put glue on the top side of the branch tiers. Hold them down as best you can, then close the card over them and press down firmly all over.
Tip: Open it gently the first time. If a tier sticks, ease it free before the glue sets.
9. Add Silver Sequins Around the Pop Up Christmas Tree
Finish the card with a little snow. Put tiny dots of glue around the tree and press a silver sequin onto each one.
Tip: A damp toothpick picks up one sequin at a time with no fuss.