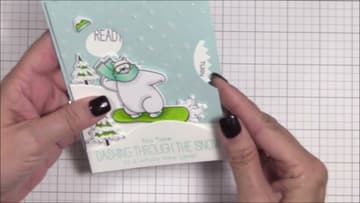
How to Make a Peek a Boo Window Card
Source: My Favorite Things • Full tutorial: www.craftingstepbystep.com/card-making/how-to-make-a-peek-a-boo-window-card
- Difficulty
- Medium
- Hands-on time
- About 1 hour
- Wait time
- 15 minutes
- Cost
- About $2 to $5
- Makes
- 1 card

Tools
- die cutting machine
- wheel die or circle punch
- small scissors
- pencil and eraser
- 1/8 inch hole punch
- stamp positioner
- palette knife
Materials
- smooth white cardstock
- colored A2 cardstock
- printer paper
- clear stamps
- black ink pad
- 1 brad
- 3D foam squares
- removable tape
- snowflake texture paste (optional)
- snowfall stencil (optional)
Steps
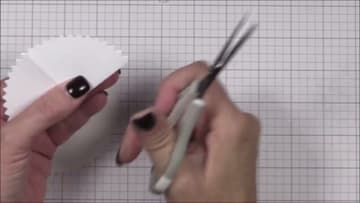
1. Fold the Paper Wheel Template and Snip the Corners
Die cut the large wheel twice: once from smooth white cardstock and once from thin printer paper. Fold the paper wheel in half, then in half again, so you have a quarter wedge.
Tip: Printer paper folds crisply; cardstock would crack.
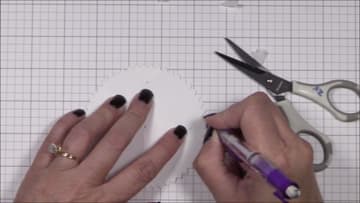
2. Trace the Template Windows Onto the Cardstock Wheel
Lay the paper template on top of the white cardstock wheel and line up the scalloped edges. Hold it flat and trace inside each of the four cut-out windows with a pencil.
Tip: Press lightly with the pencil so the marks erase cleanly later.
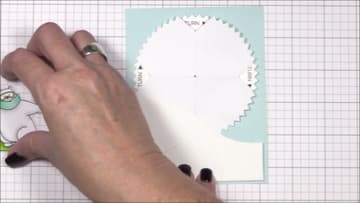
3. Plan the Peek a Boo Window Card Scene on the Panel
Trim an A2 panel (4 1/4 by 5 1/2 inches) from colored cardstock. Set the wheel and template toward the top of the panel and lay your snowdrift or hill die cuts on top.
Tip: Take a phone photo of the layout so you can copy it later.
4. Stamp the Words Through the Template Opening
Tape the paper template over the wheel with removable tape. Stamp your first word inside the window opening with black ink.
Tip: Stamp the words in reverse order so they read correctly when you turn the wheel.
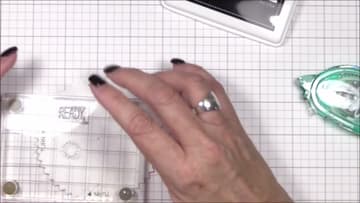
5. Die Cut the Side Notch So the Wheel Peeks Out
Cut a half circle notch in the side of the front panel so the wheel edge shows and you can grab it to turn. The notch die has two guides that help you line it up on the panel edge.
Tip: The notch can go on any of the four sides of your card.
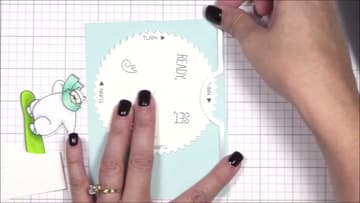
6. Mark the Wheel Center on the Card Panel
Put the wheel back on the panel exactly where you planned it. Mark the center hole with a pencil, then punch it with a 1/8 inch hole punch or pierce it with a paper piercer.
Tip: A pencil dot through the wheel's center hole is faster than a temporary brad.
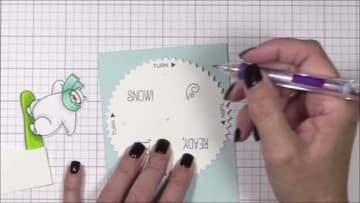
7. Add Snowflake Paste Through a Snowfall Stencil
For a wintry texture, tape a dotted snowfall stencil over the front panel. Spread white snowflake paste across it with a palette knife in a thin, even layer.
Tip: Wash the stencil right away before the paste dries in the holes.
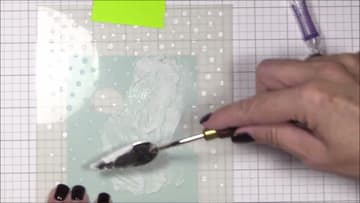
8. Attach the Snow Slopes Below the Speech Bubble Window
Push the brad through the panel and the wheel and open its legs on the back so the wheel can turn. Stick the biggest white snow slope across the bottom of the panel with thin 3D foam squares.
Tip: Thin foam keeps the card flat enough to mail.
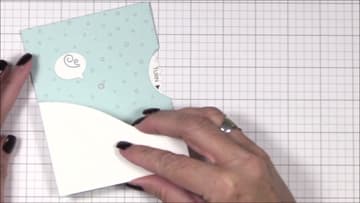
9. Add the Snowboarding Bear and Trees on Foam Squares
Stamp, color and die cut your scene pieces. Karolyn uses a snowboarding bear, his hat, two snowy trees and a snow splash.
Tip: A little glitter or puffy paint on the trees adds texture.
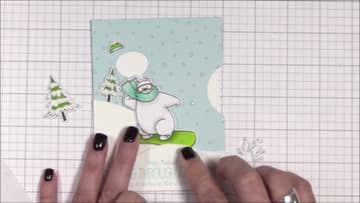
10. Mount the Panel and Turn the Peek a Boo Wheel
Fold a top folding A2 card base from matching cardstock. Attach the finished panel to it with regular foam squares around the edges.
Tip: Keep foam squares away from the wheel's path so it never snags.