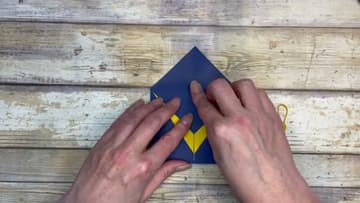
How to Make a Graduation Pop-Up Card (Easy Fun Fold)
Source: Stamptastic Designs • Full tutorial: www.craftingstepbystep.com/card-making/how-to-make-a-graduation-card
- Difficulty
- Medium
- Hands-on time
- About 45 minutes
- Cost
- About $10 to $20
- Makes
- 1 graduation pop up card
Tools
- paper trimmer
- scoring board
- scissors
- glue stick
- mini dimensional foam squares
- stamps
- ink pad
Materials
- navy card stock
- yellow or crushed curry card stock
- white card stock
- yellow baker's twine
- graduation cap embellishment
- graduation greeting stamp set
Steps
1. Score the Gatefold Base
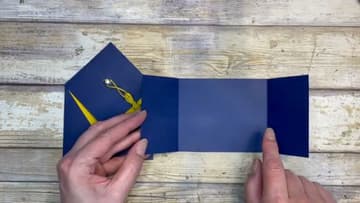
Start with a 3.5 by 8.5 inch piece of navy card stock for the regular-size card, or 5.5 by 8.5 inches for the larger version. Score in at 2-1/8 inches on each side.
Tip: If you don't have a scoring board, run a bone folder along a metal ruler at the marks. Press firmly so the fold sits flat without cracking.
2. Cut and Score the Pop-Up Flap
From the same navy card stock, cut a 2.5 by 1.25 inch strip. Score it at the 1 inch mark to split it into a 1-inch flap and a 1.5-inch flap.
3. Adhere the Pop-Up Flap to the Inside
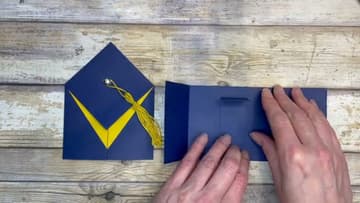
Glue the larger 1.5 inch section onto the inside center of the gatefold. Position it so the score line sits just above the top edge of the card.
4. Close the Gatefold and Add the Front Panel
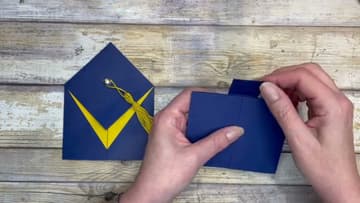
Close the gatefold so both flaps meet in the middle and fold the small 1 inch flap down over the top. Add glue to the small flap.
5. Stamp and Add the Inside Panel
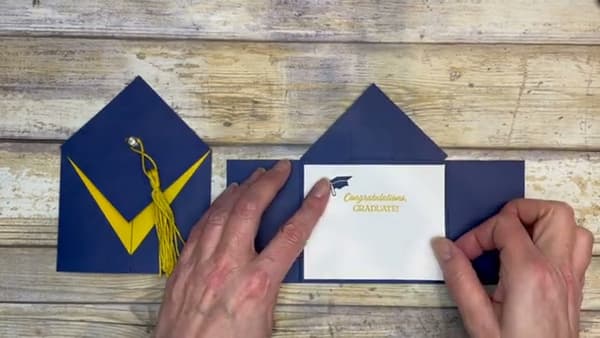
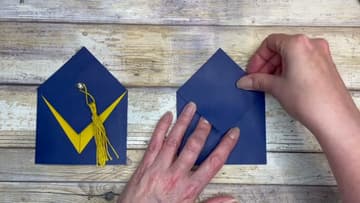
Cut a 3.25 by 4 inch piece of white card stock. Stamp a graduation greeting on it - something simple like "Congratulations, Graduate!"

6. Cut and Adhere the V-Shape Triangles
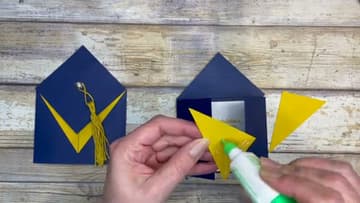
Cut a 2-1/8 by 3 inch rectangle of yellow or crushed curry card stock and slice it once on the diagonal. You'll have two matching triangles.
7. Make the Twine Tassel
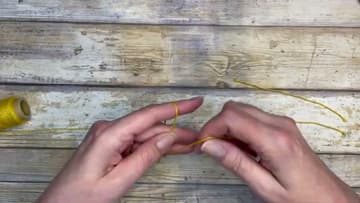
Wrap baker's twine around two fingers six times to create a small bundle. Cut the end.
Tip: Any twine color works, but for a graduation card pick a color that matches the school.
8. Attach the Tassel to a Graduation Cap Embellishment
Tie a small knot in the top end of the tassel cord and tuck the knot inside the cord loop so it disappears. Stick a mini dimensional foam square to the back of a graduation cap embellishment, peel the backing, and press the cap onto the center of the front panel where the V triangles meet.