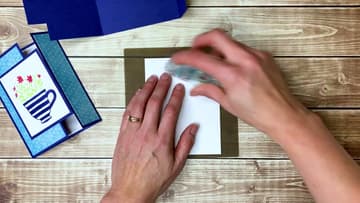
How to Make a Gatefold Card (Side Gatefold With Measurements)
Source: Jessica Taylor • Full tutorial: www.craftingstepbystep.com/card-making/how-to-make-a-gatefold-card
- Difficulty
- Easy
- Hands-on time
- About 20 minutes
- Cost
- About $1 to $3
- Makes
- 1 card

Tools
- paper trimmer
- scoring board or trimmer scoring blade
- bone folder
- clear acrylic stamp block
- foam stamping mat (optional)
Materials
- 5-1/2 x 8-1/2 inch cardstock for the base
- patterned paper
- white cardstock
- contrast cardstock for the mat
- clear stamps
- ink pads
- double-sided tape or tape runner
- foam dimensionals (optional)
Steps
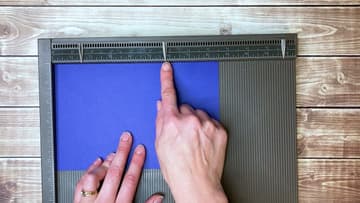
1. Score the Gatefold Card Base on a Scoring Board
Cut a piece of cardstock to 5-1/2 x 8-1/2 inches. Jessica uses a dark navy.
Tip: Run the stylus firmly down the groove. A deep score folds cleaner.
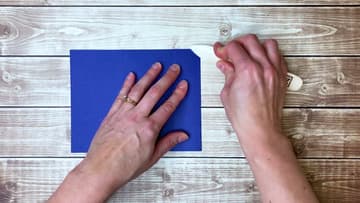
2. Fold the First Gatefold Card Flap and Crease It
Fold the narrow flap in along the 1-1/2 inch score line. Line the edges up neatly at top and bottom before you press down.
Tip: Crease from the middle out to each end so the fold stays straight.
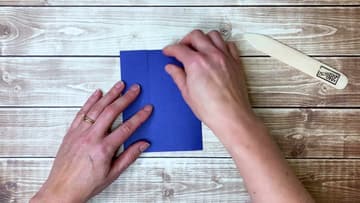
3. Fold the Second Flap So the Gatefold Edges Meet
Fold the wide flap in along the other score line. Its edge should butt right up against the edge of the narrow flap, with no big gap and no overlap.
Tip: A hair of a gap is fine. Overlap makes the card bulge.
4. Cover the Narrow Gatefold Flap With Patterned Paper
Cut a strip of patterned paper 1-1/4 x 5-1/4 inches for the narrow flap. Jessica prefers double-sided tape for this.
Tip: No patterned paper? Stamp a background on plain cardstock.
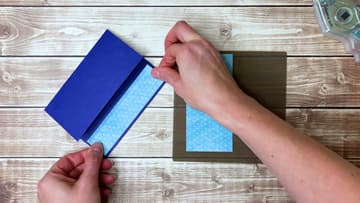
5. Cut Patterned Paper So It Flows Across the Gatefold Card
Cover the wide flap with a 2-1/2 x 5-1/4 inch piece. If your paper has an obvious pattern, like these teacups, start with one 3-3/4 x 5-1/4 inch piece instead.
Tip: Lay both pieces on the closed card before you tape them.
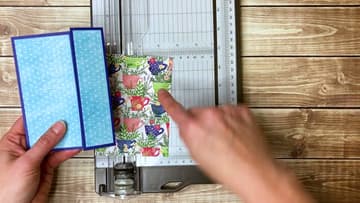
6. Stamp the Focal Image for the Gatefold Card
Cut white cardstock to 2-3/4 x 3-1/2 inches. Ink a clear stamp, here a striped teacup, and press it straight down.
Tip: Patchy image? Stamp on a foam mat for a crisper print.
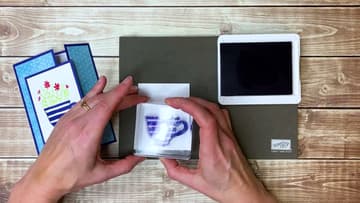
7. Add Adhesive to One Side of the Gatefold Focal Panel
Tape the stamped piece to a 3 x 3-3/4 inch navy mat. Now the important part.
Tip: Mark the no-glue side with a pencil tick if you tend to forget.
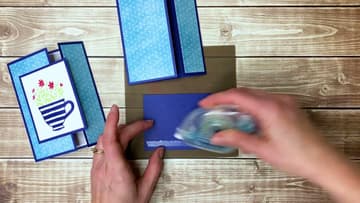
8. Open the Gatefold Card Flat Before Gluing
Open the card all the way so it lies flat on the table. Run a line of adhesive along the edge of the wide front flap, where the panel will land.
Tip: Keep tape a little way in from the flap edge.
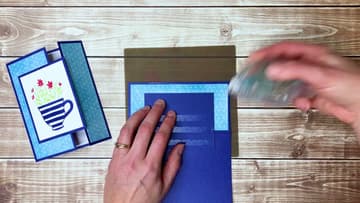
9. Press the Focal Panel Onto the Gatefold Card Front
Close the card and use it as a guide for placement. Line up the panel so it sits centered on the front and overlaps the join.
Tip: Foam dimensionals on the glued side give the panel a little lift.
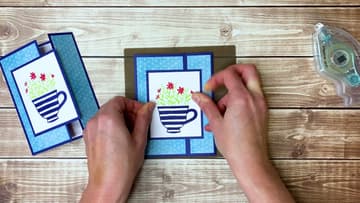
10. Add a White Insert Inside the Gatefold Card
Dark cardstock is hard to write on, so add a white insert to the inside panel. Cut it a little smaller than the panel, about 4 x 5-1/4 inches.
Tip: Cut several inserts at once and keep them for future cards.