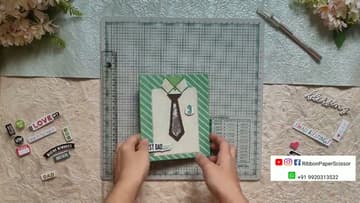
How to Make a Father's Day Tie Shaker Card
Source: RibbonPaperScissor • Full tutorial: www.craftingstepbystep.com/card-making/how-to-make-a-fathers-day-tie-shaker-card
- Difficulty
- Medium
- Hands-on time
- About 40 minutes
- Cost
- About $10 to $20
- Makes
- 1 Father's Day tie shaker card

Tools
- Scissors
- Craft knife
- Ruler
- Pencil
- Cutting mat
- Bone folder
Materials
- Green striped pattern paper (card base)
- Cream pattern paper (inset panel)
- Brown cardstock (tie shape)
- OHP sheet / acetate (shaker window)
- Silver beads or sequins (shaker fill)
- Foam tape (double-sided 3D)
- White craft glue
- BEST DAD ever sentiment sticker
- Small blue heart pocket sticker
- Pearl embellishment
Steps
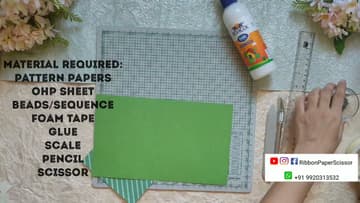
1. Gather Your Materials
Pull out everything before you start: pattern papers in your color scheme (green stripes for the shirt look great with brown), an OHP sheet (overhead projector acetate) for the shaker window, foam tape, white craft glue, scissors, a pencil, and a ruler. You'll also need silver beads or sequins for the shaker fill -...
Tip: Lay everything out before cutting. Shaker cards have small fiddly pieces and stopping mid-build to hunt for foam tape kills the momentum.
2. Cut the Card Base Panel
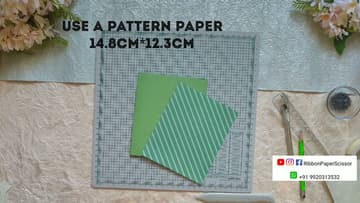
Cut a panel of pattern paper to 14.8 cm by 12.3 cm. The video uses a green diagonal stripe with a cream micro-print as a second layer.
3. Draw the Tie Template
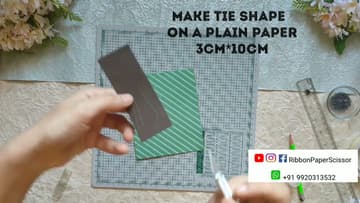
On a small piece of plain paper or scrap card, draw a tie shape about 3 cm wide by 10 cm long. The shape is a small downward triangle on top (the knot), then a longer trapezoid that widens slightly before tapering to a point.
4. Cut the Tie Frame from Brown Cardstock
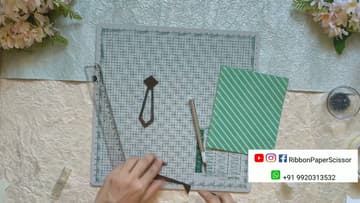
Trace the template onto brown cardstock twice. Cut both tie shapes out.
5. Adhere the Acetate Window
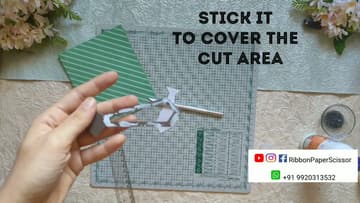
Cut a piece of acetate slightly larger than the hollowed tie window. Run a thin bead of glue around the back edge of the tie frame and press the acetate down over the cut area.
6. Build the Foam Tape Walls
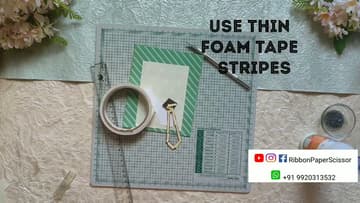
Cut thin strips of foam tape and lay them along the back edge of the tie frame, right on top of where the acetate seals to the cardstock. Build the strips into a continuous wall around the entire inner window.
7. Fill the Shaker with Beads
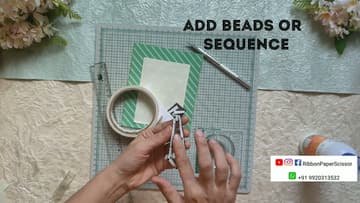
With the foam tape walls in place, sprinkle silver beads or sequins into the well. Use about a teaspoon - half-full is the sweet spot.
8. Seal with the Base Tie
Peel the backing off the foam tape walls. Carefully position the second (solid) brown tie shape over the foam tape and press down firmly around the entire perimeter.
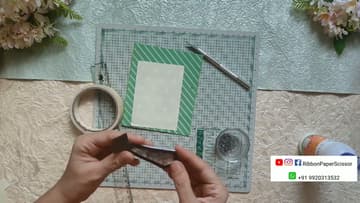
9. Add the Collar and Mount the Shaker Tie
Cut two small triangles from green pattern paper for the shirt collar - they sit at the top of the cream panel, points down, like collar flaps framing the knot of the tie. Glue them in place.
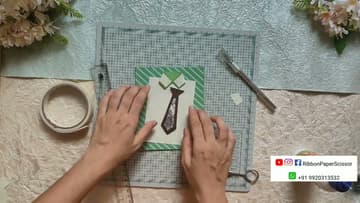
10. Add the Sentiment and Finishing Touches
Stamp or stick a BEST DAD ever! sentiment in the top-left corner of the panel.
Tip: Keep a few extra brown tie pairs cut and ready.