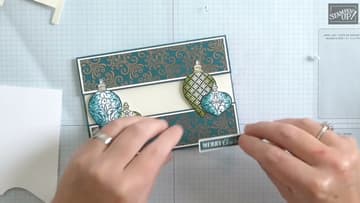
How to Make a Christmas Ornament Card
Source: Create with Scrimpingmommy • Full tutorial: www.craftingstepbystep.com/card-making/how-to-make-a-christmas-ornament-card
- Difficulty
- Medium

Tools
- paper trimmer with scoring blade
- bone folder
- small scissors
- ornament punch or ornament dies
- clear stamp block
- sponge dauber
- binder clip
Materials
- teal cardstock
- cream cardstock
- white cardstock
- Christmas patterned paper
- clear acetate sheet
- strong double-sided tape
- Christmas ornament stamps
- Merry Christmas sentiment stamp
- black ink pad
- teal and green ink pads
- gold gel pen
- liquid glue
- foam adhesive strips
Steps
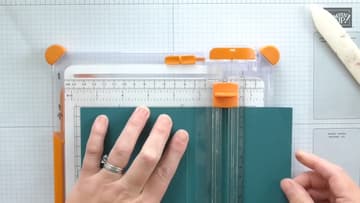
1. Cut the Window Out of the Christmas Card Base on a Paper Trimmer
Cut your card base and fold it in half, then burnish the fold well. Lay the folded card on the trimmer with the fold on the 1 1/2 inch mark and trim the front panel only, up to the fold.
Tip: Only cut the front panel. Slide the back of the card under the trimmer bar out of the way.
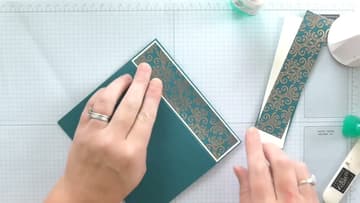
2. Glue the Patterned Paper Strips Onto the Ornament Card Front
Cut two cream mats, about 1 3/8 x 5 3/4 inches, and two strips of patterned paper a little smaller. Amanda picked a teal paper with copper foil swirls.
Tip: Cream looks softer than white next to foil paper.
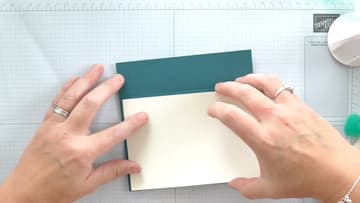
3. Glue the Cream Liner Inside the Christmas Ornament Card
Cut a cream panel, about 5 3/4 x 4 inches, and glue it to the inside of the card. This is what shows through the window, so center it well.
Tip: Keep a glue eraser close to lift any stray glue before it dries.
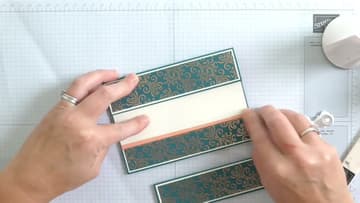
4. Tape the Clear Acetate Window Into the Christmas Card
Clip the bottom strip in place so it lines up with the card. Cut a piece of acetate a little narrower than the card and add strong double-sided tape along its top and bottom edges.
Tip: Wash and dry your hands first. Acetate shows every fingerprint.
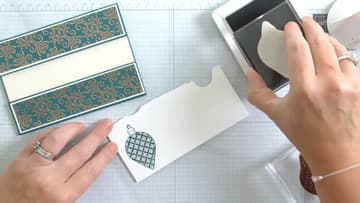
5. Stamp the Christmas Ornament Images on White Cardstock
Ink an ornament stamp with dark ink and stamp it on a scrap of white cardstock. Lift the block straight up so the lines stay crisp.
Tip: Leave a little space around each image so the punch or die fits.
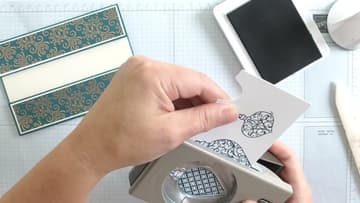
6. Punch Out the Stamped Christmas Ornaments
Slide the stamped cardstock into the matching ornament punch, upside down, so you can see the image through the opening. Line the stamped lines up with the edge of the punch and press.
Tip: Punch upside down. It is the only way to see where the image sits.
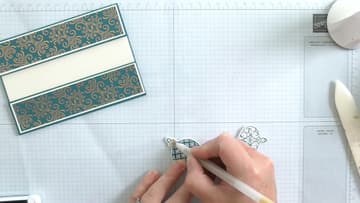
7. Color the Ornament Caps With a Gold Gel Pen and Trim
Color the cap at the top of each ornament with a gold gel pen. It ties in with the foil on the paper.
Tip: Gel pen ink stays wet longer than you expect. Give it a minute before you handle it.
8. Sponge Ink Around the Christmas Ornament Edges for Shading
Tap a sponge dauber on the ink pad and dab most of it off on scrap paper. Flick it around the cut edge of the ornament so no white shows.
Tip: Build the colour slowly. It is easy to add ink and hard to take it away.
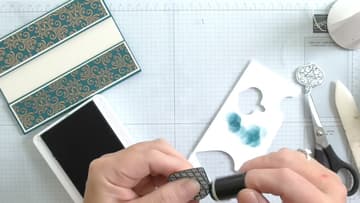
9. Glue the Floating Ornaments Onto the Christmas Card Window
Put a tiny dot of glue at the top and bottom of an ornament and press it across the window, so it touches the patterned strips. Hold it for a moment.
Tip: Let the paper strips carry most of the weight. Glue on clear acetate shows.
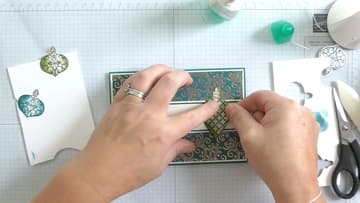
10. Add the Merry Christmas Sentiment With Foam Adhesive
Stamp a Merry Christmas sentiment on a strip of cream cardstock. Let it dry, then trim it close by eye, leaving a narrow border.
Tip: Foam offcuts save money. You do not need a full sheet of foam dots for one sentiment.