How to Make a Card: Beginner's Guide to Handmade Greeting Cards
Source: K Werner Design • Full tutorial: www.craftingstepbystep.com/card-making/how-to-make-a-card
- Difficulty
- Easy
- Hands-on time
- About 30 minutes
- Wait time
- 30 minutes
- Cost
- About $10 to $20
- Makes
- 1 handmade watercolor greeting card

Tools
- paper trimmer or ruler + craft knife
- scoring board or bone folder
- small watercolor brush
- black fine-tip marker or pen
- craft mat
- scissors
Materials
- cardstock or watercolor paper (8.5 x 11)
- watercolor paint set
- blue painters tape or low-tack masking tape
- pencil
- envelopes (A2 or 3x4 size)
Steps
1. Gather Your Card-Making Basics
Lay out your foundational card-making supplies: cardstock or watercolor paper for the card base, a pencil for marking, a ruler, scissors or a craft knife, and a sentiment medium like markers, stamps, or fine-tip pens. Add masking tape to block off clean edges if you have it, watercolor paints or ink pads for color...
Tip: Heavyweight 80lb cardstock or 140lb watercolor paper holds folds and color better than thin construction paper. Avoid copy paper. It buckles the moment any moisture hits it.
2. Choose a Card Size and Cut the Base
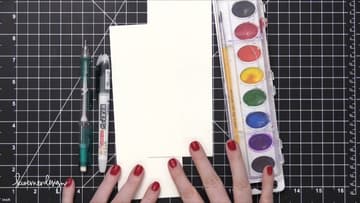
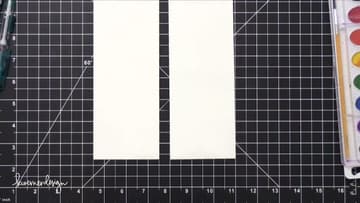
Pick your finished card size before you cut anything. Standard A2 cards finish at 4.25 by 5.5 inches starting from an 8.5 by 5.5 inch strip folded in half.
Tip: Score lightly first, then fold. Scoring before folding gives you a clean hinge instead of a cracked, rounded edge.
3. Plan Your Focal Panel Placement
The focal panel is the main design area on the front of your card. Clean edges around it make the whole card look professional, like the design was matted onto the base even though the cardstock is one piece.
Tip: Print a card sketch worksheet to plan multiple layouts at once. Kristina has free sketch worksheets on her blog at kwdesign.at/cardsketchworksheets.
4. Mask the Focal Panel Boundary
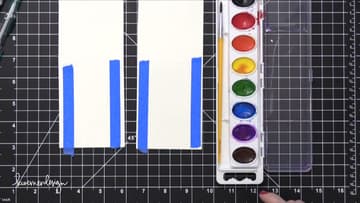
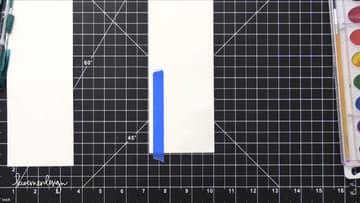
If you want razor-clean focal panel edges, mask them off with tape before adding color or pattern. Lay a strip of tape flat on your craft mat, set a ruler on top, and slice down the center with your craft knife.
Tip: Burnish the tape edges with your fingernail or a bone folder to seal them down. Tape that lifts at the edges lets color bleed under and ruins the masked effect.
5. Add Color to the Focal Panel
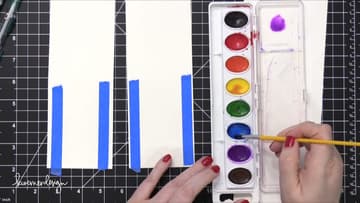
Now fill the masked focal panel with color or pattern. Watercolors give soft gradient washes that work for birthdays, thank-yous, and any cheerful occasion.
Tip: Wet your watercolor pans a few minutes before you start. Pigment that has had time to soften releases concentrated color when your brush touches it.
6. Peel the Tape and Reveal Clean Edges
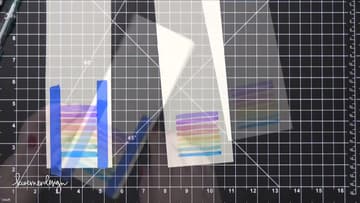
Once your background color is dry, peel the masking tape off. Pull each strip slowly and at a low angle so the edge stays sharp and the cardstock fibers do not tear.
Tip: Wait until the paint is fully dry before pulling tape. Damp paint smears under the tape edge and ruins the clean reveal.
7. Add the Sentiment and Drawn Details
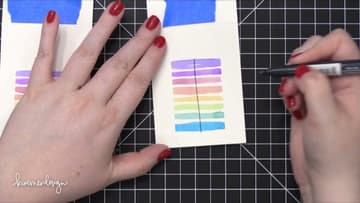
The sentiment is the message: Happy Birthday, Thank You, Get Well Soon, Thinking of You, With Sympathy. Stamp it with a clear sentiment stamp set, write it freehand with a black marker, print it on a separate strip and adhere it, or hand-letter it directly onto the focal panel.
Tip: If your marker line comes out faint, trace over it once more with the same pen. Doubling up the line gives crisp dark contrast without smearing.
8. Finish with Accent Color and Envelope
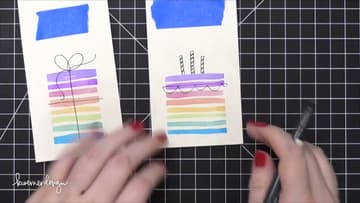
Even a one-color background card comes alive when you add a small pop of contrasting accent. Kristina drops yellow watercolor onto the candle flames so the warm yellow jumps against the cool rainbow stripes.
Tip: If you mailed the card, hand-write the address with an envelope pen in the same ink color as your sentiment. Small consistency, big finish.