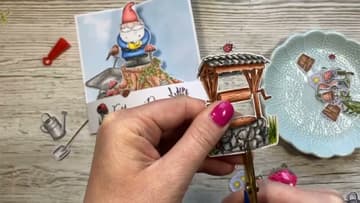
How to Make a Bendi Card (Bendy Fold Card Tutorial)
Source: Sam Calcott UK - Mixed Up Craft • Full tutorial: www.craftingstepbystep.com/card-making/how-to-make-a-bendi-card
- Difficulty
- Easy
- Hands-on time
- About 1 hour
- Cost
- About $1 to $3
- Makes
- 1 card

Tools
- scoreboard and scoring tool
- stamping platform
- small craft scissors
- fine tip glue bottle
Materials
- white cardstock
- 6 x 6 patterned paper
- black ink pad
- clear stamps
- colored pencils
Steps
1. Score the Bendi Card Base Down the Middle
Cut a 6 by 6 inch square of sturdy white cardstock for the base. Lay it on a scoreboard and score a line down the middle at 3 inches.
Tip: Run a bone folder along the fold so the card closes cleanly.
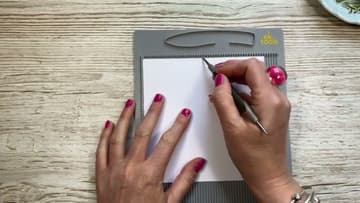
2. Score Both Ends of the Bendi Card Strip
Cut a strip 7 inches long and 1.5 inches tall. This is the piece that bends.
Tip: Audition your sentiment on the strip now, before anything is glued.
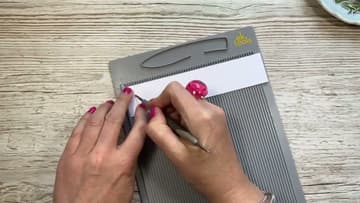
3. Stamp the Sentiment on the Bendi Card Strip
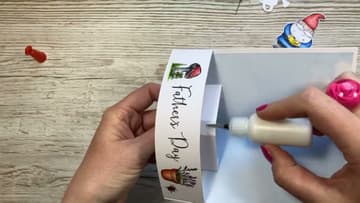
Stamp your sentiment across the middle of the strip. Sam stamps Father's Day in black ink, then adds small images at each end to fill the white space.
Tip: Pick an ink that suits your coloring: any crisp black for pencils.
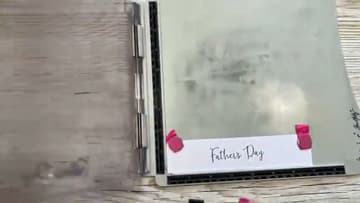
4. Glue the Bendi Strip Tab to the Card Base
If you plan to cover the base with patterned panels, peel back their corners or wait to add them. Put glue on the back of one end tab of the strip.
Tip: Liquid glue gives you a few seconds of wiggle time to line things up.
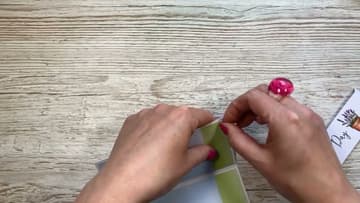
5. Line the Bendi Strip Up Flush With the Card Edge
Glue the second tab the same way on the other side. The fold of each tab must run flush with the outside edge of the card and sit right along the bottom corner.
Tip: If the card will not close flat, a tab has crept inward. Fix it while wet.
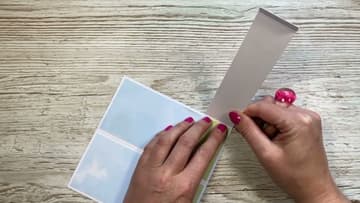
6. Score the Inner Support Tab for the Bendi Card
The inner tab gives your main image something to stand on. Cut a piece 4.5 by 1.75 inches.
Tip: Change the size to suit your main image.
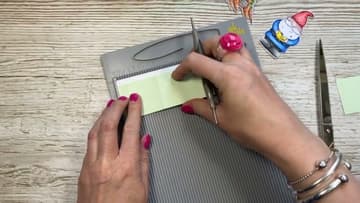
7. Glue the Inner Support Tab Into the Bendi Card
Add glue to the two outer tabs of the support piece. Set it in the middle of the card base so the half inch center section hangs over the center score line.
Tip: Check the card still folds flat before the glue sets.
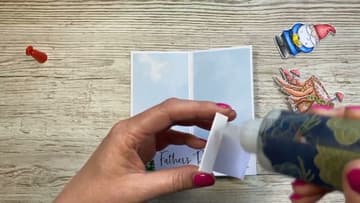
8. Glue the Top of the Bendi Card Support Tab
Put a line of glue along the top front of the support tab. This is where the main scene attaches.
Tip: Use a fine tip glue bottle so glue does not show around the edges.
9. Add the Gnome to the Front of the Bendi Card
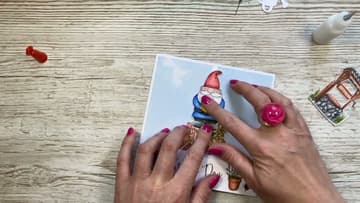
Now add the star of the card. Sam glues her colored gnome on top of the tree stump so he sits right in the middle of the scene.
Tip: Foam squares behind a piece add a little extra depth.
10. Trim and Add Fussy-Cut Garden Pieces to the Bendi Card
Trim around the rest of your stamped pieces with small scissors, then glue them around the scene. Sam adds a wheelbarrow, plant pots, a bird and a wishing well, and decorates the inside back with more stamped bits.
Tip: Stand taller pieces at the back and small ones in front.