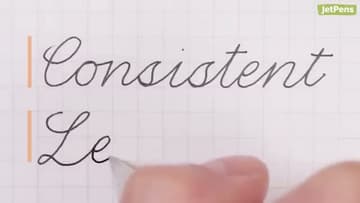
How to Write in Cursive - 7 Tips for Neat Handwriting
Source: JetPens • Full tutorial: www.craftingstepbystep.com/calligraphy/how-to-write-in-cursive
- Difficulty
- Easy
- Hands-on time
- About 25 minutes
Tools
- Gel pen or fine-liner with fine/medium tip
- Grid or lined practice paper
- Cursive alphabet reference
Materials
- Practice worksheets (printable or grid notebook)
Steps
1. Find a Style Guide
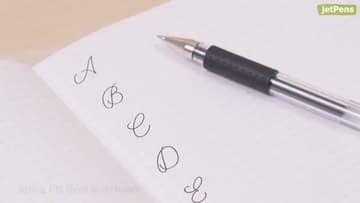
Before you write a single letter, find a cursive style you actually want to copy. Print a free practice worksheet, use grid paper, or download a cursive alphabet reference - JetPens hosts free downloadable worksheets on their blog.
Tip: Spencerian is elegant and old-school. Modern looped cursive is the most common American style.
2. Tilt Your Paper
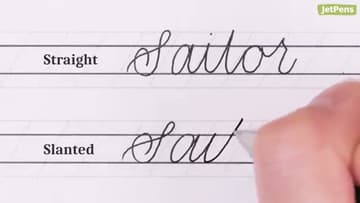
Slide your paper at about a 30-45 degree angle to the edge of your desk. Right-handed writers tilt the top to the left; left-handers tilt to the right.
Tip: If your wrist is sore after writing, your paper isn't tilted enough. The angle should let your forearm drag in a straight line as you move across the page.
3. Pick a Smooth Pen
Use a gel pen or a fine liner with a fine or medium point. They glide across the paper without much pressure.
Tip: If you're left-handed, look for a quick-drying gel ink to avoid smudging. Pilot G2 and Uniball Signo are popular smooth-writing options.
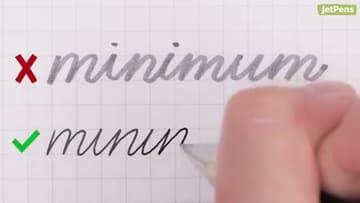
4. Master Individual Letters
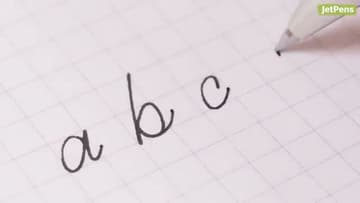
Don't try to write whole words yet. Work through the alphabet one letter at a time, paying attention to where each letter starts and ends.
Tip: Spend extra time on the letters you'll write most often: a, e, i, o, n, t. Capital Q and Z get less practice in real writing, so don't sweat them on day one.
5. Practice Common Letter Pairs
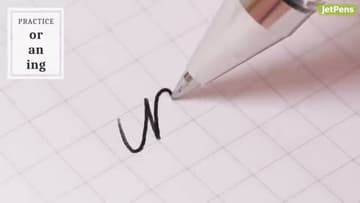
Before tackling whole words, practice common letter pairings: or, an, in, ing, ed, the. These pairs show up in almost every word, and the connection between letters is what cursive is really about.
Tip: If a connection looks ugly, slow down to half speed. Most awkward joins come from rushing the transition between two letter shapes you already know.
6. Write Clear Letter Shapes
Slow down. Letters with open tops (a, o, g) look like u or y when you rush, which makes your handwriting harder to read.
Tip: Finish the entire word before going back to dot your i's or cross your t's. Pausing mid-word breaks your rhythm and the connection between letters looks awkward.
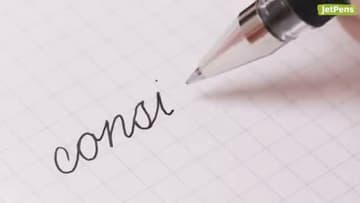
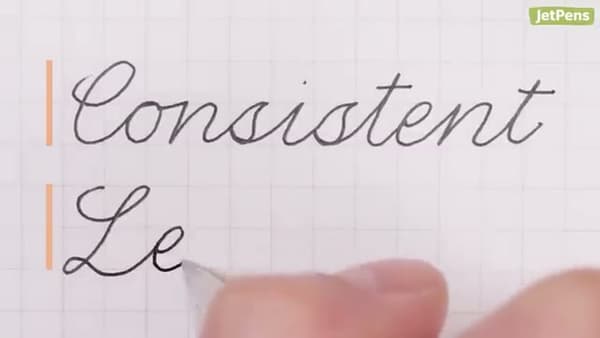
7. Keep Size and Slant Consistent
Lowercase o and e should be the same height. Capital C and L should match each other.
Tip: If you've been writing on a big practice worksheet, scale back to normal notebook lines for daily practice. Writing at the size you'll actually use builds the right muscle memory.