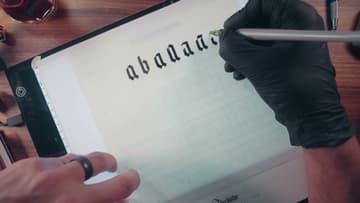
How to Write in Blackletter (Gothic Calligraphy)
Source: Tamer Ghoneim Art • Full tutorial: www.craftingstepbystep.com/calligraphy/how-to-write-in-blackletter
- Difficulty
- Easy
- Hands-on time
- About 30 minutes

Tools
- Pilot Parallel pen (2.4 mm or 3 mm)
- pencil
- ruler or parallel line ruler
- lightbox (optional)
- eraser
Materials
- marker paper or smooth layout paper
- printed blackletter guide sheets
- Parallel pen ink cartridges
Steps
1. Choose a Broad-Edge Pen for Blackletter Calligraphy
Blackletter needs a pen with a flat, wide tip. Tamer likes the Pilot Parallel Pen.
Tip: Empty Parallel cartridges can be rinsed and refilled with any fountain pen ink you like.

2. Rule the Baseline and Waistline for Your Blackletter Letters
Draw a pencil line for the baseline, where the letters sit. Then draw a second line above it for the waistline, the top of short letters like a, c, e and o.
Tip: Use a light hand with the pencil so the lines erase cleanly after the ink dries.
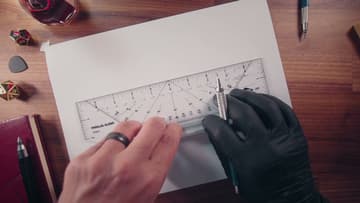
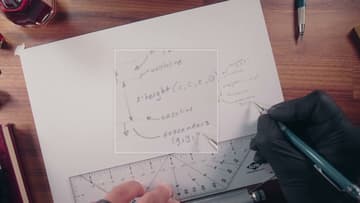
3. Add Ascender and Descender Space Above and Below the X-Height
Some letters reach higher or lower than the rest. The tall parts of b, d and f are ascenders.
Tip: A good beginner ratio is 2 nib widths above, 5 in the middle and 2 below.
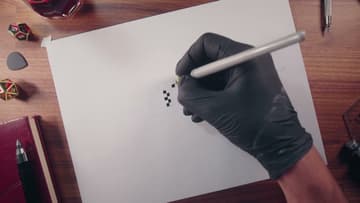
4. Measure the Blackletter X-Height in Nib Widths
Your guide lines should match your pen. Hold the nib flat and make a small square mark.
Tip: If you prefer numbers, multiply the nib width by 5. A 3.8 mm nib gives about 1.9 cm.
5. Slide a Blackletter Guide Sheet Under Your Paper on a Lightbox
Ruling every page gets old fast. Print a blackletter guide sheet for your pen size, lay it on a lightbox and put your writing paper on top.
Tip: Tamer offers free guide sheets for six pen sizes, from 1.5 mm to 6 mm.
6. Practice the Four Basic Blackletter Pen Strokes
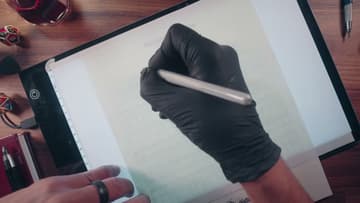
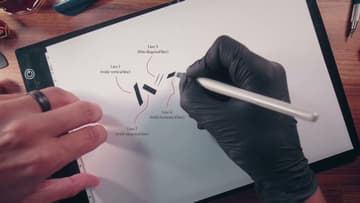
The whole alphabet comes from four strokes. Line 1 is a wide vertical pulled straight down.
Tip: Keep the nib angle the same for all four. Only the direction of the stroke changes.
7. Build a Lowercase Blackletter A From Straight Strokes
Begin your a slightly below the waistline. Pull a vertical stroke down, add a short diagonal at the foot, then a diagonal across the top to make the closed bowl.
Tip: Lift the pen between strokes. Clean corners come from separate strokes, not one long drag.
8. Write a Lowercase Blackletter B Next to the A
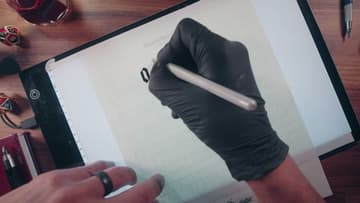
The b starts higher, up in the ascender space. Pull a long vertical stroke from there down to the baseline.
Tip: Check the gaps. Even spacing between stems is what makes blackletter look like blackletter.
9. Play With Variations of the Blackletter A
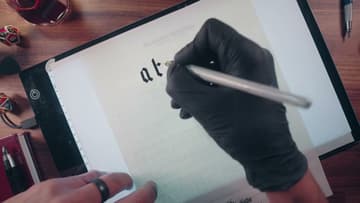
Now have fun. Write the a again and change one thing each time.
Tip: Pick your favorite a and use its shapes to guide the rest of your alphabet.