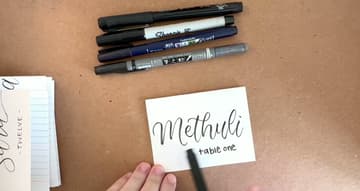
How to Make Calligraphy Place Cards - Easy DIY Brush Lettering
Source: Lettering With Liv • Full tutorial: www.craftingstepbystep.com/calligraphy/how-to-make-calligraphy-place-cards
- Difficulty
- Easy

Tools
- Tombow Fudenosuke hard tip brush pen
- Tombow Fudenosuke soft tip brush pen
- ultra fine black marker
Materials
- 4x6 unruled index cards
- guest list
Steps
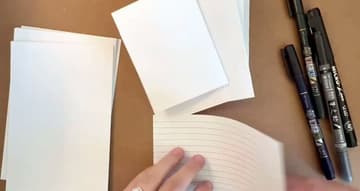
1. Fold 4x6 Index Cards Into Tent Place Cards
Fold a stack of 4x6 index cards in half across the short side so each one stands up as a tent. Run a fingernail along the fold so it stays crisp.
Tip: Lined index cards work too. Fold them so the lines end up on the inside.
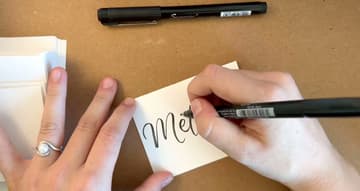
2. Write the Name on the Place Card Without Penciling
Skip the pencil guide. Pencil rarely erases cleanly on index card stock.
Tip: Warm up on a scrap card first. Your first few names are always the stiffest.
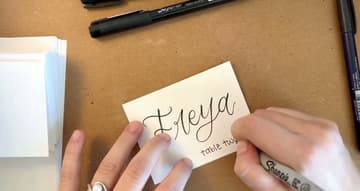
3. Add a Table Number to the Place Card in Small Print
Under the name, add the table number in small print with an ultra fine Sharpie or a fineliner. Keep it simple and light, like table two, so the name stays the star of the card.
Tip: Use the same pen for every table number so the set looks consistent.
4. Use Thick Downstrokes and Thin Upstrokes on the Place Card Name
Brush lettering comes from pressure. Press the tip down as your pen moves toward you for a thick stroke.
Tip: Hold the pen at a low angle. Standing it upright makes thick strokes hard to get.
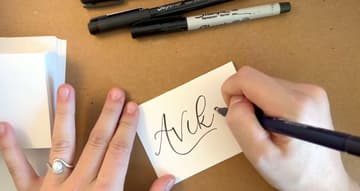
5. Slow Down and Check the Spelling on Each Place Card
Take your time on every card. Speed is where mistakes creep in, so write as slowly as you need.
Tip: Read each finished card back against the list before it goes in the done pile.
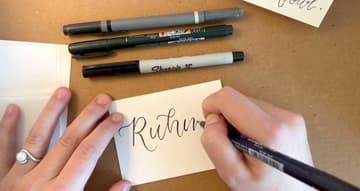
6. Try a Lowercase Name With a Spaced Capital Surname
For a modern look, write the first name in all lowercase calligraphy. Underneath, print the last name in small capital letters with extra space between each one.
Tip: Space the capitals to roughly match the width of the name above.
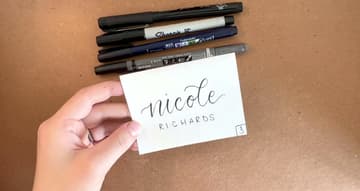
7. Run the Calligraphy Name Edge to Edge on the Place Card
Let the first and last strokes of the name run right off both edges of the card. On the Wenday card, the W and the y both reach the edge.
Tip: Start the first stroke off the card on scrap paper so the line stays smooth.
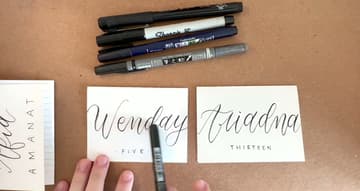
8. Write a Bouncy Calligraphy Place Card With a Table Assignment
Bounce lettering lets letters sit above and below the line instead of in a flat row. Write the name in thicker strokes and let some letters dip and others rise.
Tip: Keep the bounce on the lowercase letters. Capitals stay steady.