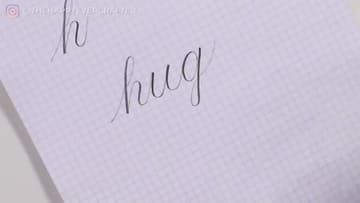
How to Learn Calligraphy: 7 Step Beginner Tutorial With Just a Pencil
Source: The Happy Ever Crafter • Full tutorial: www.craftingstepbystep.com/calligraphy/how-to-learn-calligraphy
- Difficulty
- Easy
- Hands-on time
- About 25 minutes
Tools
- Soft pencil (HB, 2B, 3B, or 4B)
- Eraser
Materials
- Graph paper or lined paper
Steps
1. Grab a Soft Pencil and Lined Paper
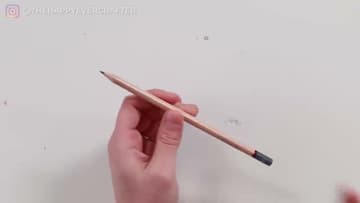
You don't need a brush pen to start. A regular pencil works great as long as the lead is HB or softer - 2B, 3B, and 4B all work even better because the lead presses softer and shows pressure variation more clearly.
2. Learn the Light-Up, Hard-Down Rule
This is the entire technique in one sentence. When the pencil moves upward, press lightly.
3. Practice the Upstroke
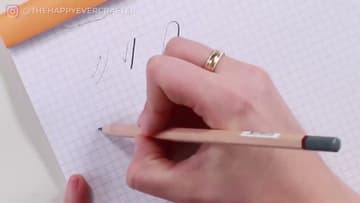
Start at the bottom guideline of your paper. Press lightly and pull the pencil upward at a slight forward angle to the top guideline.
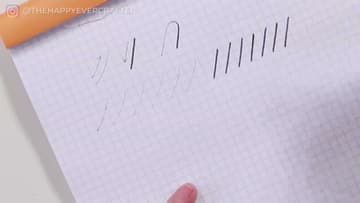
4. Practice the Downstroke
Now reverse it. Start at the top guideline and pull the pencil downward at the same forward angle, this time pressing hard.
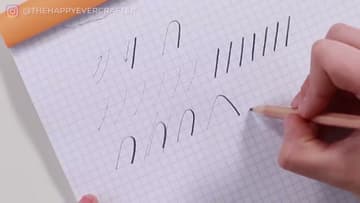
5. Combine Into Overturns and Underturns
The overturn combines an upstroke and a downstroke. Light up, curve over the top, hard down.
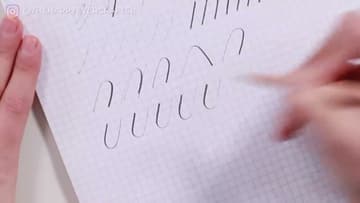
6. Add Compound Curves, Ovals, and Loops
Four more basic strokes complete the set: the compound curve (light-hard-light, like a flattened W), the oval (start light up the side, hard down, light up the other side), the ascending loop (twice as tall, going up and over), and the descending loop (twice as tall going down below the line). Together with the...
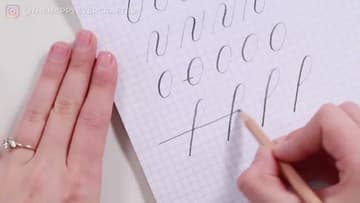
7. Build Letters and Write Your First Word
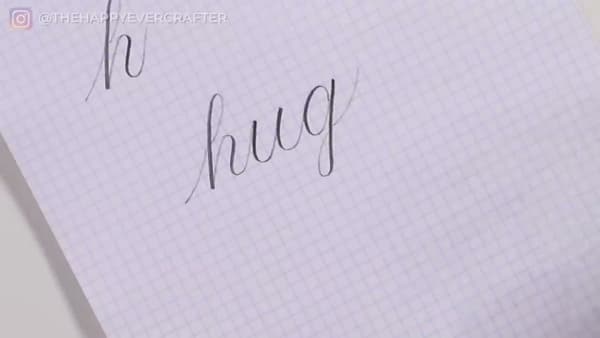
The letter U is upstroke + underturn + underturn. The letter G is upstroke + oval + descending loop + upstroke.
Tip: If your downstrokes look spotty or skip across the paper, the pencil isn't soft enough or you're not pressing hard enough.