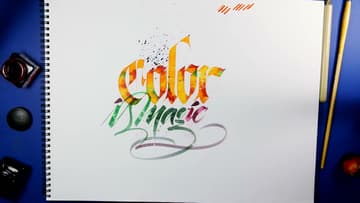
How to Do Watercolor Calligraphy
Source: Calligraphy Masters • Full tutorial: www.craftingstepbystep.com/calligraphy/how-to-do-watercolor-calligraphy
- Difficulty
- Medium

Tools
- automatic pen or broad calligraphy pen
- fine round brush
- flat brush
- watercolor brush pen
- paper towel or tissue
Materials
- liquid watercolor (Ecoline)
- watercolor paper
- clean water
Steps
1. Load the Automatic Pen With Watercolor and Test the Strokes
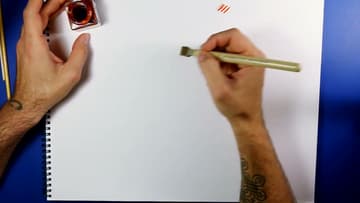
Francesco starts with a very light yellow Ecoline for the base color of the letters. He uses a brush to load drops of the watercolor into his automatic pen.
Tip: Choose the lightest color you plan to use as the base. Darker drops go in later.
2. Write the Word in Watercolor Calligraphy With the Automatic Pen
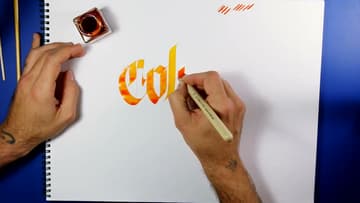
Write your word. Francesco writes 'color' in blackletter.
Tip: Write short words or one line at a time so nothing dries before you add color.
3. Drop Purple Watercolor Into the Wet Calligraphy Letters
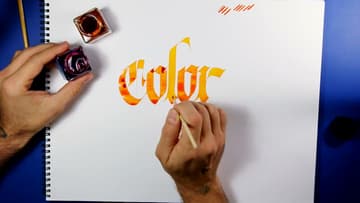
Pick up a very thin brush and load it with a second color. Francesco uses purple.
Tip: Touch, do not paint. Let the water carry the color.
4. Add Green Watercolor Drops Inside the Calligraphy Letters
Clean the brush so you do not mix colors, then load a third color. Francesco adds green here and there.
Tip: Rinse the brush fully between colors to keep them bright and not muddy.
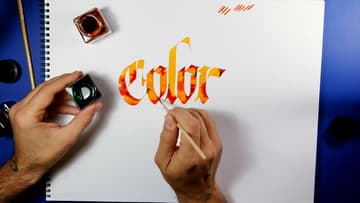
5. Blot the Watercolor Calligraphy With Tissue for Texture
Take a clean piece of tissue or paper towel and press it onto part of a letter. It lifts some of the color and lightens the background tone.
Tip: Crumpled tissue gives a mottled pattern. Folded tissue gives a cleaner lift.
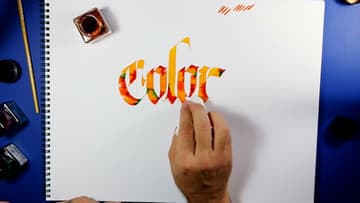
6. Drop Clean Water Into the Watercolor Letters for Blooms
With a clean brush, drop plain water into the colored letters. Watch what happens.
Tip: Small drops give tight blooms. Bigger drops spread wider and lighten more.

7. Write a Second Line With a Watercolor Brush Pen
For the second line, Francesco switches to an Ecoline brush pen in green, with purple as a second color. He dips the tip of the brush pen into the liquid Ecoline before writing.
Tip: A contrasting style, like blackletter over brush script, makes the layout look planned.

8. Add Water Drops to the Watercolor Brush Pen Lettering
Treat the brush pen line the same way as the first word. Drop clean water into it and watch the texture come out.
Tip: Too much water can erase the color. Blot early if a stroke starts to vanish.
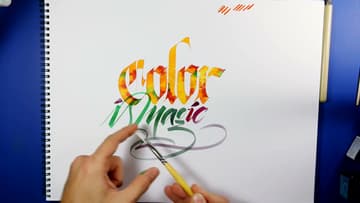
9. Add Final Drops of Color to the Watercolor Calligraphy
Look over the whole layout. Use the fine brush to add a few more drops where a letter needs more color or depth.
Tip: Step back from the piece before adding more. It is easy to overwork it.

10. Splatter Ink Over the Finished Watercolor Calligraphy
For the finishing splatter, load the small brush with plenty of color. Hold it over the paper and blow hard across the bristles.
Tip: Cover parts you want clean with scrap paper before you splatter.