How to Do Chalkboard Lettering (Faux Calligraphy With Chalk)
Source: Carter Sams • Full tutorial: www.craftingstepbystep.com/calligraphy/how-to-do-chalkboard-lettering
- Difficulty
- Easy
- Hands-on time
- About 1 hour 15 minutes
- Makes
- 1 chalkboard sign

Tools
- chalkboard
- pencil sharpener
- metal ruler
- cotton swabs
- paper towels
- sketchbook and pencil
Materials
- white chalk
Steps
1. Sharpen the Chalk for Chalkboard Lettering
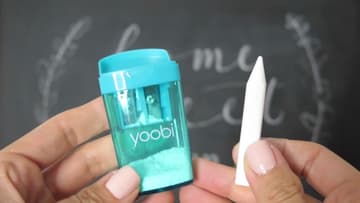
A blunt stick of chalk makes fat, fuzzy lines. Run your chalk through an ordinary pencil sharpener until it has a clean point, the way Carter does here.
Tip: Use a sharpener you do not need for pencils. Chalk dust dulls the blade.
2. Make a Fine Chalk Eraser From a Paper Towel
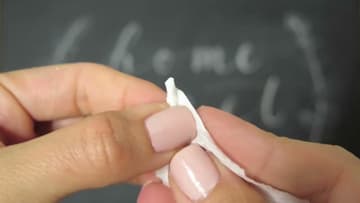
Gather your erasers before you start. Cotton swabs are good for cleaning up small mistakes inside a letter.
Tip: Keep a dry towel under your hand so you do not smudge finished letters.
3. Sketch Chalkboard Lettering Layouts on Paper First
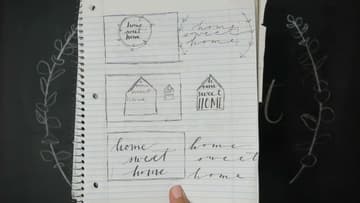
Before any chalk touches the board, sketch a few small layouts on paper. Carter tries the words in a circle, inside a house shape and stacked in rows.
Tip: Draw the sketch in the same shape as your board, wide or tall.
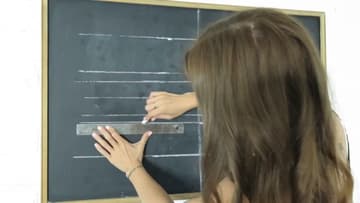
4. Draw the Center Line on the Chalkboard With a Ruler
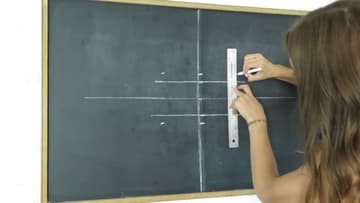
Find the center of your board and split it in half both ways. Use a long metal ruler and sharpened chalk to draw a light vertical line down the middle and a horizontal one across it.
Tip: Press lightly. Guidelines have to erase completely at the end.
5. Draw Chalk Guidelines for Each Row of Lettering
Now draw the rows. Carter's board has three rows, each four inches tall, with one inch of space between them.
Tip: Jot which letters fall on each side of the center line at the top of the board.
6. Write the Words in Cursive Between the Chalk Guidelines
Do the lettering before any decoration, so the words stay large and easy to read. Write each word in plain cursive, leaving a little extra space between letters for a light, airy look.
Tip: Write the same letter the same way each time. Consistency reads as skill.
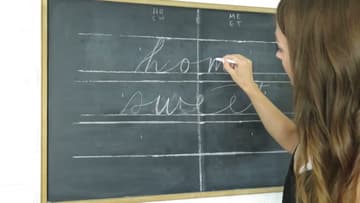
7. Thicken the Downstrokes for Faux Calligraphy on the Chalkboard
This is the faux calligraphy part. Find every stroke where the chalk moved toward the bottom of the board.
Tip: Clean up wobbly edges with a cotton swab as you go.
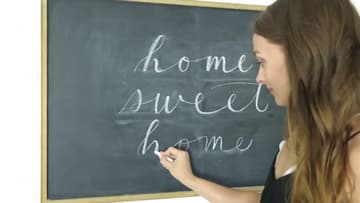
8. Draw Curved Stems Around the Chalkboard Lettering
With the words done, add a design that frames them. Carter draws two long curved stems, one on each side, for eucalyptus sprigs.
Tip: Draw both stems at once, one in each hand, to help them match.

9. Draw Eucalyptus Leaves on the Chalkboard Stems
Pull up a reference photo of the plant you are drawing. Carter keeps hers on her phone and looks at the photo more than at her drawing.
Tip: Not sure you can draw it? A reference photo makes a big difference.
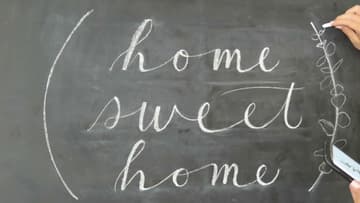
10. Wipe Away Smudges for a Clean Chalkboard Finish
Now the final touch-ups. Erase every guideline completely, including the center lines and word marks.
Tip: Photograph the board in daylight from straight on so the chalk does not glare.