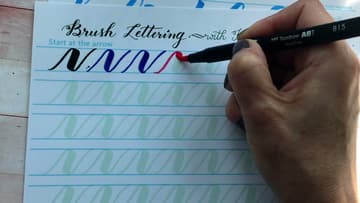
How to Do Bounce Lettering With Brush Pens
Source: kellycreates • Full tutorial: www.craftingstepbystep.com/calligraphy/how-to-do-bounce-lettering
- Difficulty
- Medium
- Hands-on time
- About 30 minutes

Tools
- brush pens (Tombow, Sakura Koi or Zig Brushables)
- lined practice sheets
Materials
- smooth paper (Rhodia pad, marker pad or laser printer paper)
Steps
1. Write a Word in Regular Brush Script on the Baseline Before Bounce Lettering
Start with a short word in your normal brush script so you have something to compare against. Kelly writes hi on a lined practice sheet.
Tip: Use evenly spaced guidelines. You need to see the baseline clearly to break it on purpose.
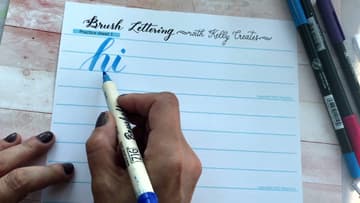
2. Drop the Second Stroke of the h Below the Baseline for Bounce Lettering
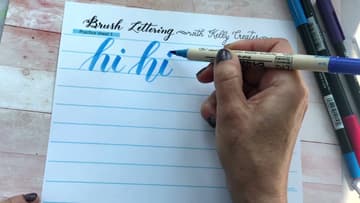
Write the word again, this time with a bounce. Keep the h ascender loop the same.
Tip: Bounce the stroke that ends a letter, like the second leg of an h, m or n.
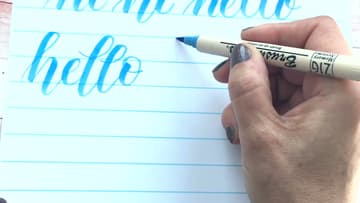
3. Write a Bouncy Hello With the Vowels Kept on the Baseline
Try a longer word like hello. Write it in regular script first, then bounced underneath.
Tip: Keeping vowels on the line gives the word an anchor, so it still reads as one word.
4. Narrow the Exit Strokes on Your Bounce Lettering
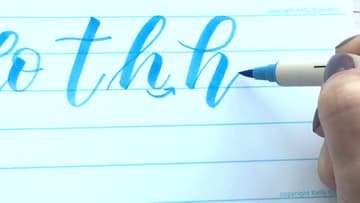
Look at how each letter leaves for the next one. In regular script, the exit stroke of an h swings out wide and open.
Tip: Write a regular h and a bouncy h next to each other and compare the exits.
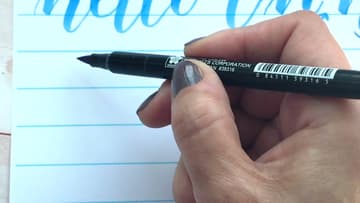
5. Hold the Brush Pen Far Back on the Barrel for Bounce Lettering
Your grip affects every stroke. Kelly switches to a Sakura Koi brush pen here and shows where she holds it: well back on the barrel, not near the tip.
Tip: Relax your hand. A tight grip makes the curves wobble.
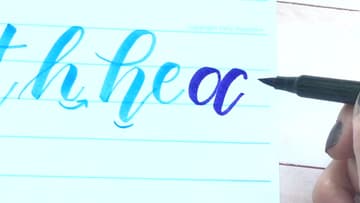
6. Bounce the Second Stroke of the a, Not the Oval
Letters with an oval, like a, d and g, need care. If you drag the oval below the baseline it looks misshapen.
Tip: This same rule works for o, q and the bowl of a d.
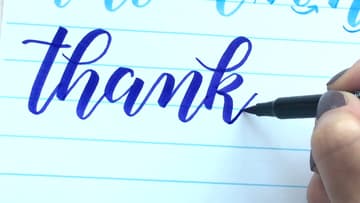
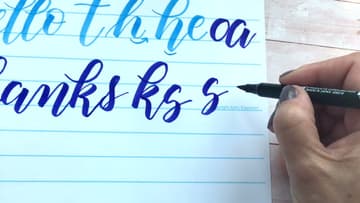
7. Bounce the n and Keep the k Loop in the Bounce Lettering Word Thanks
Write thanks to put it all together. Bounce the t below the baseline.
Tip: Carry each exit stroke right up to where the next letter starts, or they will not connect.
8. Try Two Ways to Bounce the s in Bounce Lettering
The s is an awkward letter to bounce. Kelly shows two options.
Tip: If one letter keeps fighting you, swap to a simpler form of it. Nobody will mind.
9. Practice Bounce Lettering Drills on a Printed Worksheet
The fastest way to get comfortable is drills. Trace rows of the basic strokes: compound curves, ovals, reverse ovals, upstrokes and downstrokes.
Tip: Slide a sheet of tracing paper over a printed worksheet so you can reuse it many times.